
There are hundreds of tutorials for Blender. Maybe thousands. As you might expect they vary in quality from not-so-good to very good. One of the characteristics that they all seem to share is that they are fast! Some are far too fast, some are not too fast and I can keep up with them. What I’ve decided to do is watch a tutorial without making note of the techniques used and then go through it again stopping and starting to get a better idea of what is going on.
Another issue is that Blender is complex, as it needs to be to produce realistic 3-D images. That often means that there are usually several ways of achieving something, and a tutorial author might prefer one over another for some reason. Rarely does an author go into why he did something a particular way, and if he does, it can be incredibly useful.
Anyway, I’ve been looking into ‘materials’ and ‘textures’ recently. ‘Materials’ are the stuff that things are made of, like ‘metal’ or ‘marble’. Textures are, as someone said in a tutorial, descriptive of the material. For example a metal object may be rusty, or a marble object might be dirty.
There are hundreds of free materials and textures available for anyone to download. I’ve downloaded a few from Chocofur who provide a several useful packs of free materials for download. You can also purchase some impressive models from them.
Another source of useful materials are the tutorials. Sometimes a tutorial author will include the materials that he has used in his tutorial, to help those who have taken his tutorial, so that they can repeat the steps he took in his tutorial and learn that way.
Of course, a simple image downloaded from the Internet or a camera image can be used as a source of material and/or textures, but that means that the artist will need to do more work, which brings me to another point. When a texture is downloaded from the Internet, it is usually in the form of a “blend” file which has to be ‘appended’ to the model being created. (A “blend” file is the format in which Blender saves a file, whether it’s one of your own creations or one from the Internet) When I downloaded my first materials, I didn’t know this, so I just used the images from the downloaded files. This produces results which are, basically, rubbish.
A downloaded texture usually contains several images, used for different purposes – as a colour map, a displacement map, or one of several other types of map. I use the word “map” loosely here. These are used in the “shader” in various ways. I’m not going to define “shader”, but loosely, it’s how the material/texture is applied.

What I didn’t realise when I started to look into materials, and textures and shaders was that it is fun to play around with them. A shader is a bunch of nodes linked together. Each node is a box with adjustable sliders and values in it, and you can play with them to your hearts content.
Here’s one of Chocofur’s shaders below. Note all the options that you can change! You can also add other nodes to modify the provided shader, and that where the fun begins! Of course, it helps if you know what the nodes do, but that doesn’t prevent experimentation of course.

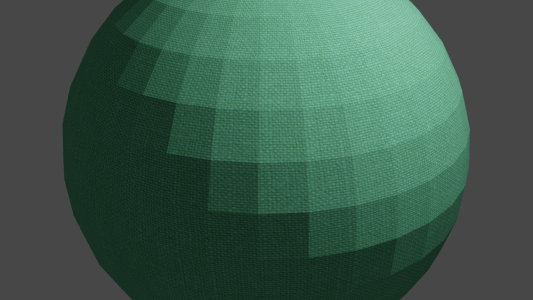
OK, to end with I’m going to show you two of my images, created in the last week or two. They are renders of a cliff face. The first is my first attempt. I created a plane mesh and subdivided it with the fractal parameter set to non-zero. This has the effect of “crumpling” the surface a little. Then I added a pretty bland texture and rotated the plane so that it looked like a cliff.

There’s obvious problems with of course. It’s pretty meh! And the bands across it are distracting. Here’s the second attempt.
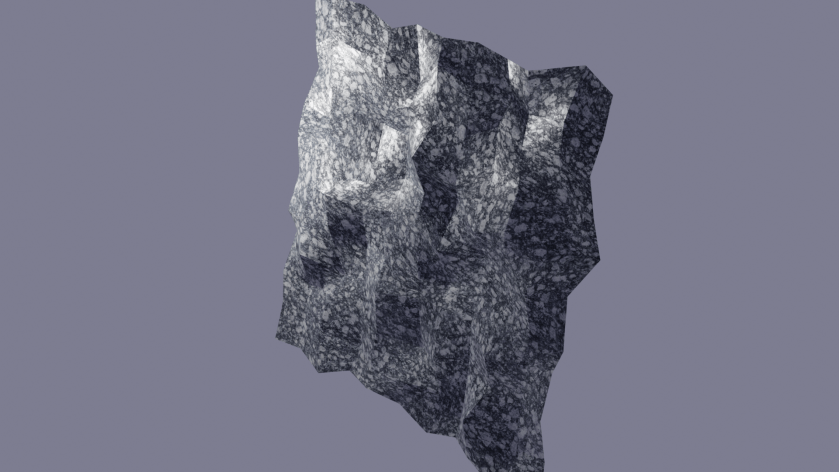
This one is the opposite of the first! It has a bolder material, and is considerably more crumpled. Back to the drawing board. Oh, and I’ve got to work on the lighting.
Please read my books. The paperback versions can be found Amazon, and the eBooks can be found there or at your favourite eBook store. Just search for my name, Cliff Pratt. I mainly write fantasy fiction.
