Quite a Quiche

Late... Again ?
Late… Again ? (Photo credit: M_AlPhotography)

Ooops! Late again. I really have to get myself organised and get a post out on time. On time is sometime before last thing Sunday. Today is Tuesday!

Anyway, this time I’m going to do a cooking post as I can’t remember the last time that I did one. (It was 15th May 2013, actually). I cooked a quiche this weekend and it turned into two quiches. As I usually do I looked on the Internet for a recipe and came up with this one here. Yes, you are correct, I was using up some of the Christmas ham, but I do like quiches with ham in them. I also like quiches with leek or silver beet, but I didn’t have any of those at the time.

Ham and cheese quiches

The recipe that I found doesn’t include the pastry and uses two 9 inch pastry shells, but my dish was around 10 inches across and I guessed that the area would be about the same. If I’d done the maths, I would have seen that one 9 inch shell would have an area of 81 * pi square inches, so two would come to 162 * pi square inches and the 10 inch pie dish would have an area of 100 * pi square inches, so I’d likely have around a third of the mixture left over.

imaginary calculation
imaginary calculation (Photo credit: monkeyinfez)

Anyway, I ploughed on, not realising the problem. I made some ‘short pastry’, which is basically just fat and flour and a little water to bind it. I mixed 5 ounces of margarine and 8 ounces of flour in a bowl. I used the technique of “rubbing in” the fat to the flour and this markedly changes the consistency of the mixture. It starts off with the flour being, well, powdery, but after mixing it with the margarine, the consistency changes to a more “bread crumb” structure. That is, the mixture has a more particulate structure, and the powderiness disappears. When just a little water is added and the mixture is kneaded a little it changes again to a smooth consistency and becomes a ball of dough. There are good reasons why these changes occur, physical and chemical ones, no doubt, but I find them fascinating. What early cook discovered these changes and thereby started the whole culinary business?

Baked pastry dough
Baked pastry dough (Photo credit: 3liz4)

I rolled out the pastry and lined the dish and stabbed the base of the pastry case with a knife. Then I put it into the oven (at around 200 degrees C for 15 minutes). As an experiment I didn’t line it or cover it and I didn’t fill the pastry case with beans or pastry beads or similar. It came out fine and that may be because the oven has a fan to circulate the heat.

The recipe calls for two cups of chopped ham and two cups of cheese. It also calls for dried onion, but I used half a normal onion, which I lightly fried first. Two cups of chopped ham seems a lot when you are slicing it off the bone and then cutting it into small bits. The cheese was OK, and grating that amount doesn’t take long. I had the cheese, ham and onion in a bowl and it already looked a lot.

Grated Cheese
Grated Cheese (Photo credit: Annie Mole)

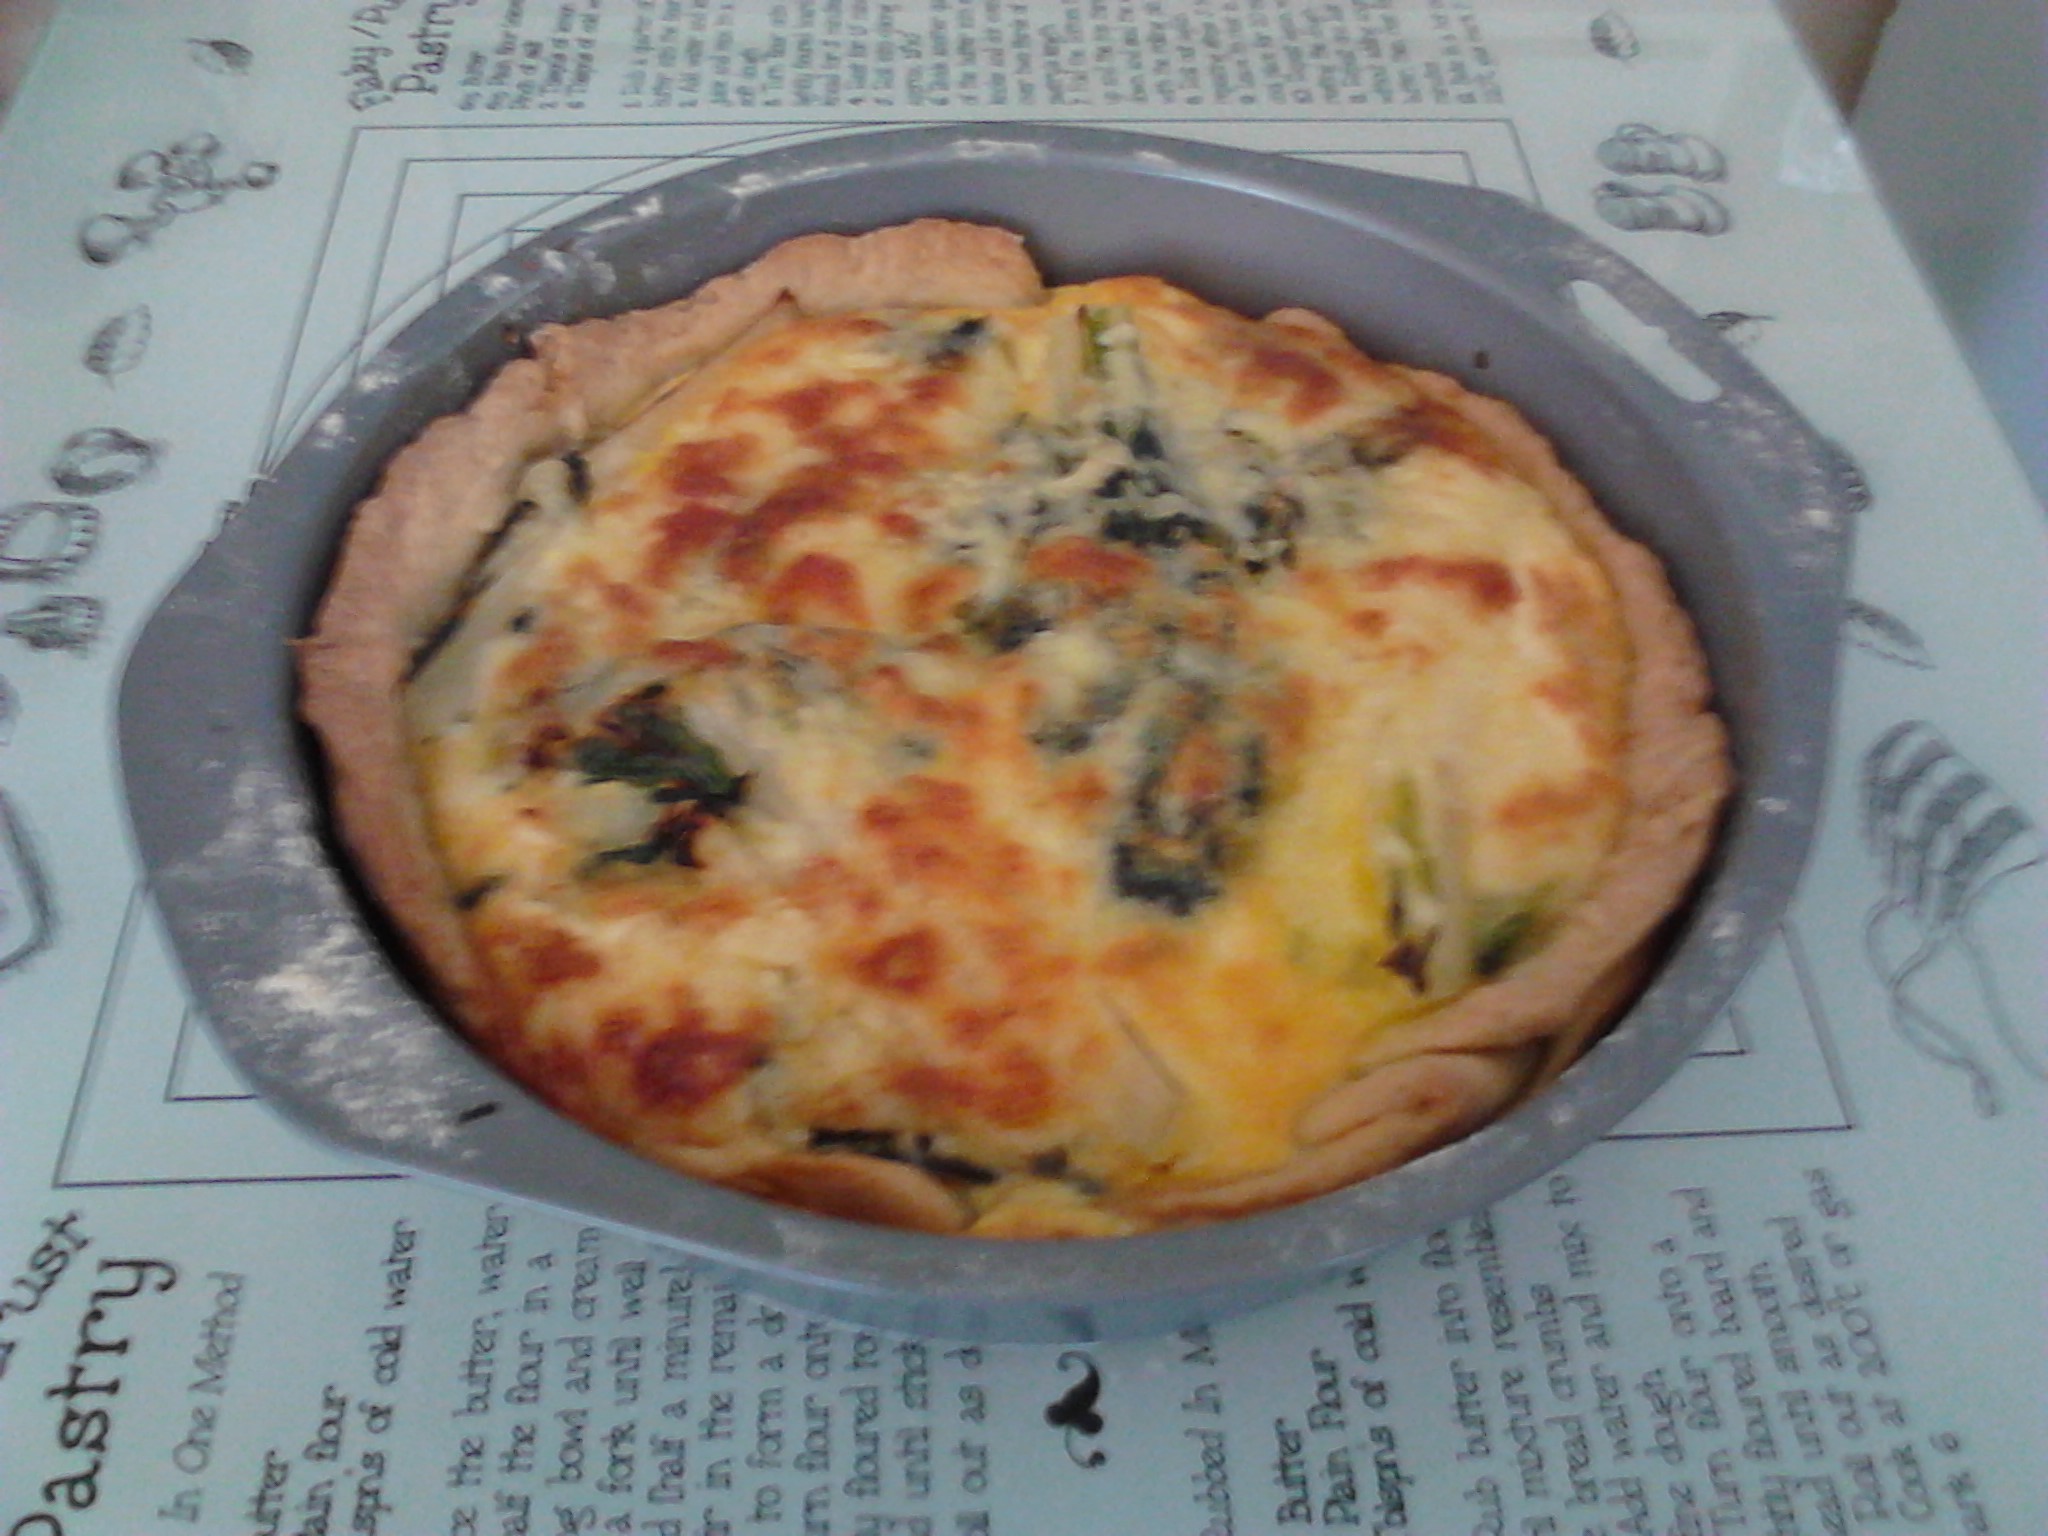
I used two cups of milk instead of cream and added the four eggs to it. It became obvious that there was too much mixture for the pie dish that I had! I put a large part of the ham, cheese and onion into the pastry case and tipped a similarly large amount of the liquid mixture over it and put it into the oven for the requisite 35 – 40 minutes.

Large quiche
Large quiche

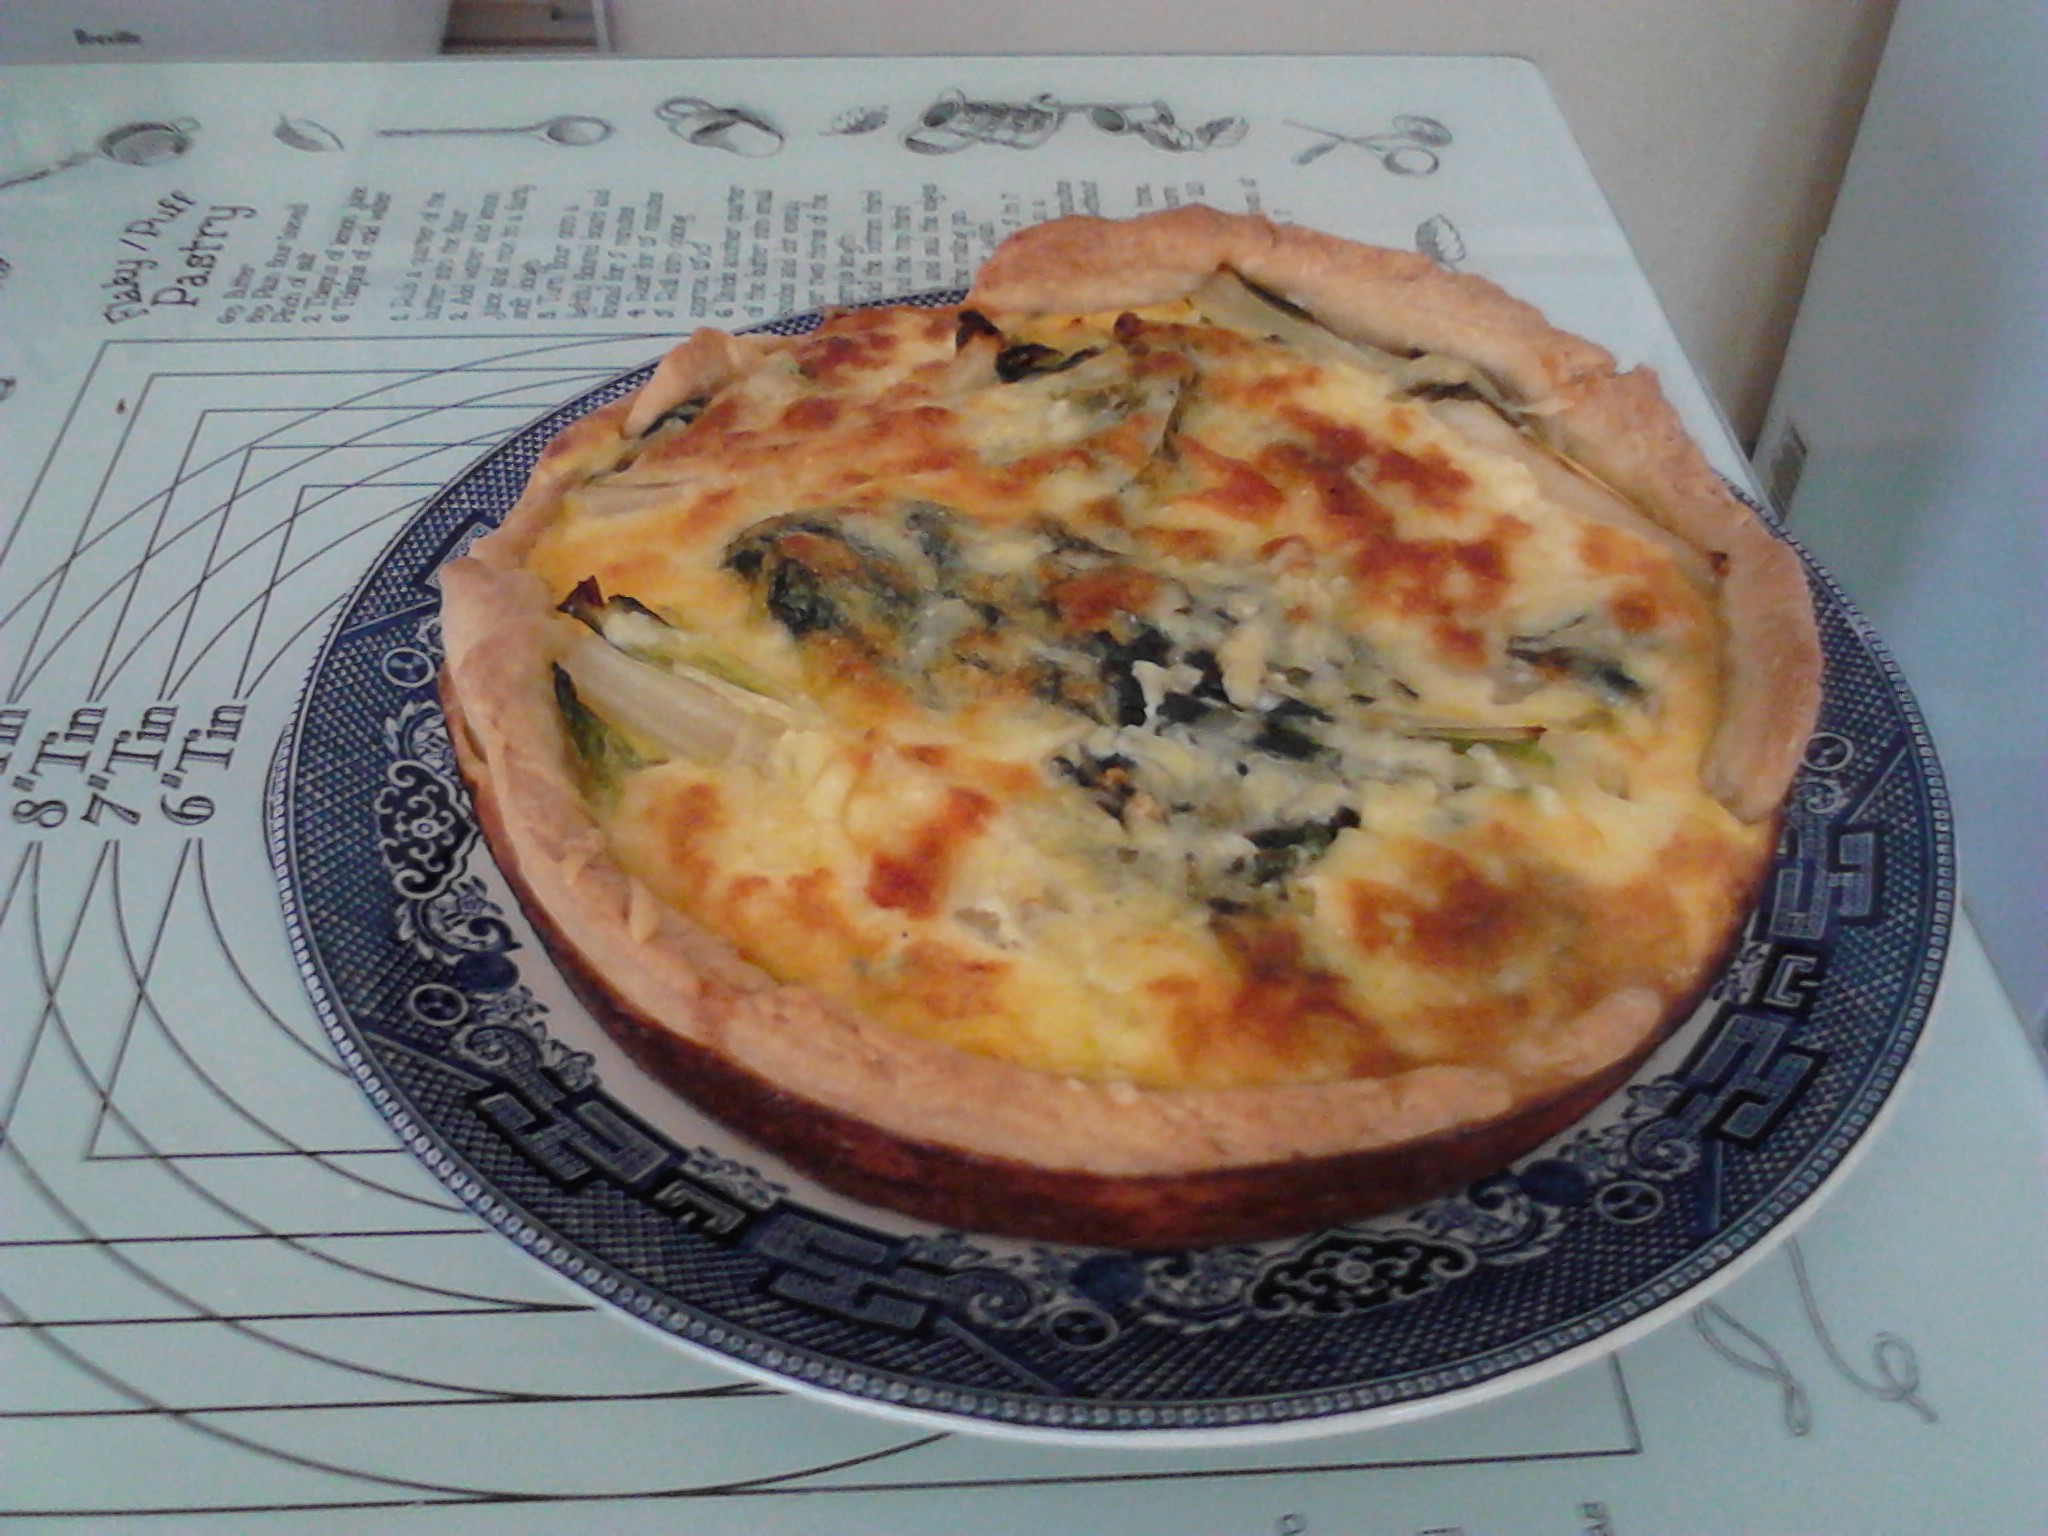
While that was cooking I grabbed a smaller dish and made some more pastry to line it. Half of the above quantities was enough and I put the pastry in the oven with the first quiche for 15 minutes. Again it came out OK, and I filled it with the rest of the mixtures and they filled nicely, so into the oven it went. At this stage I managed to burn myself a little on one of the oven racks.

Smaller quiche
Smaller quiche

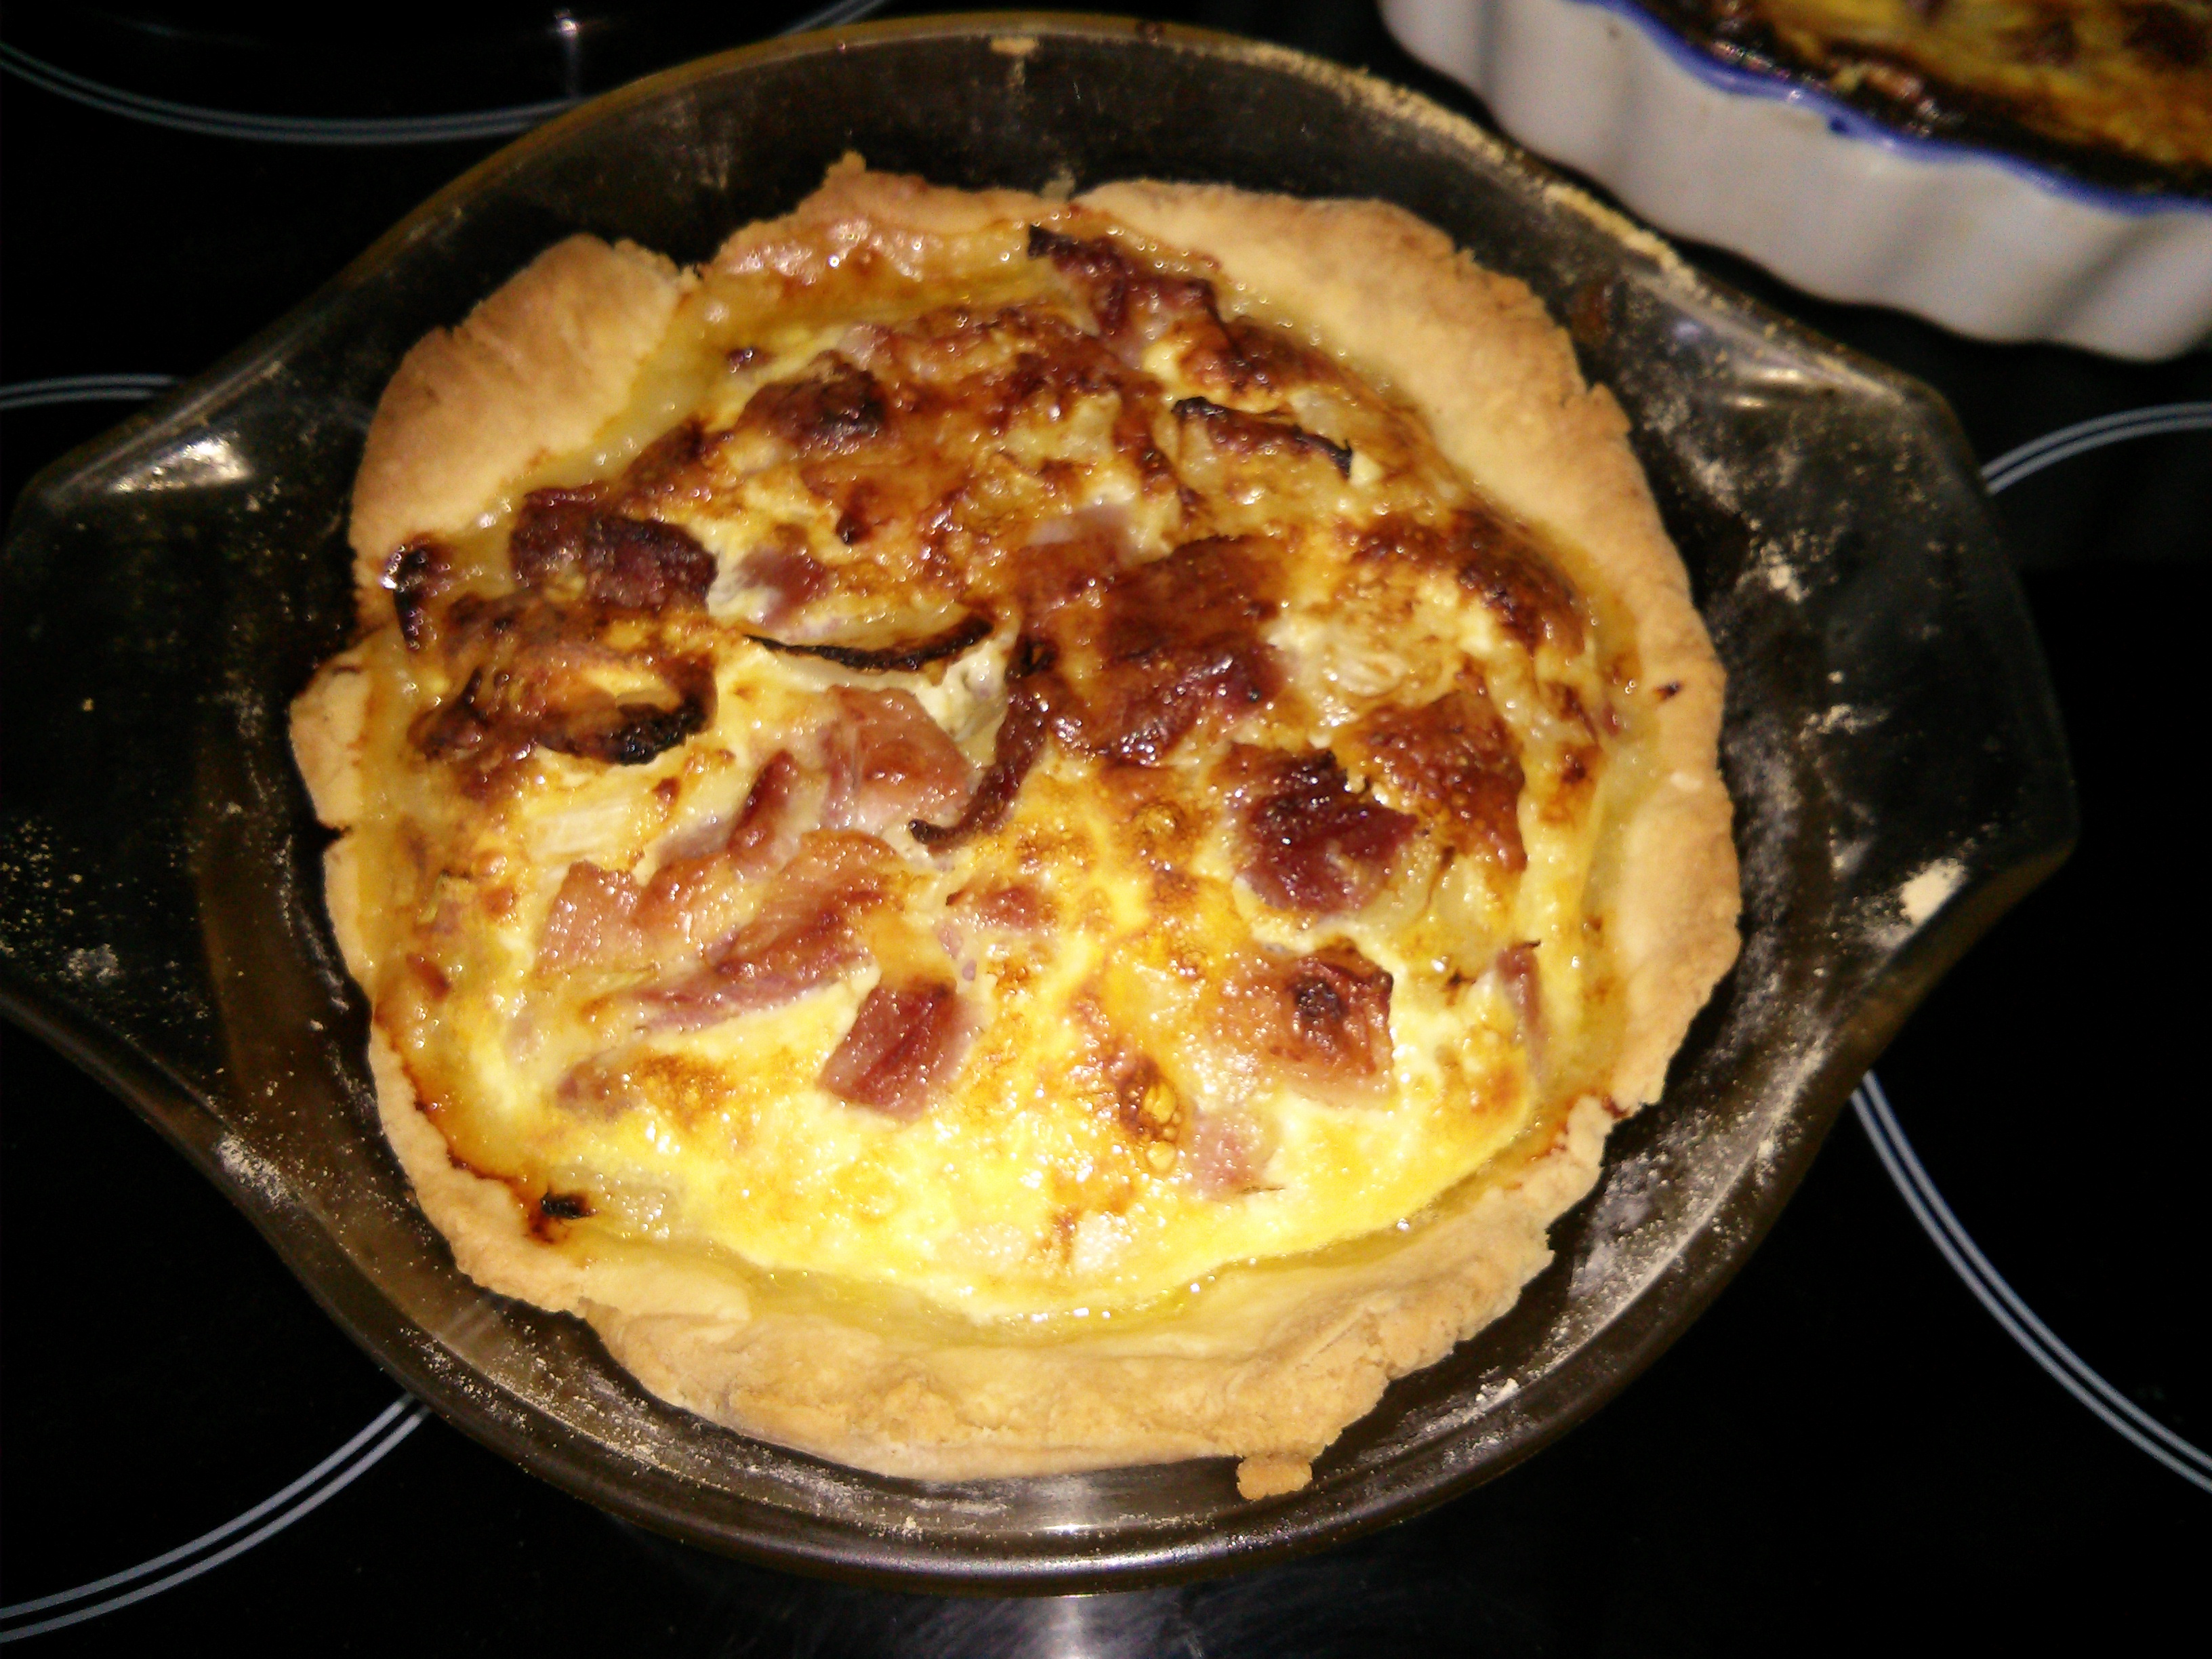
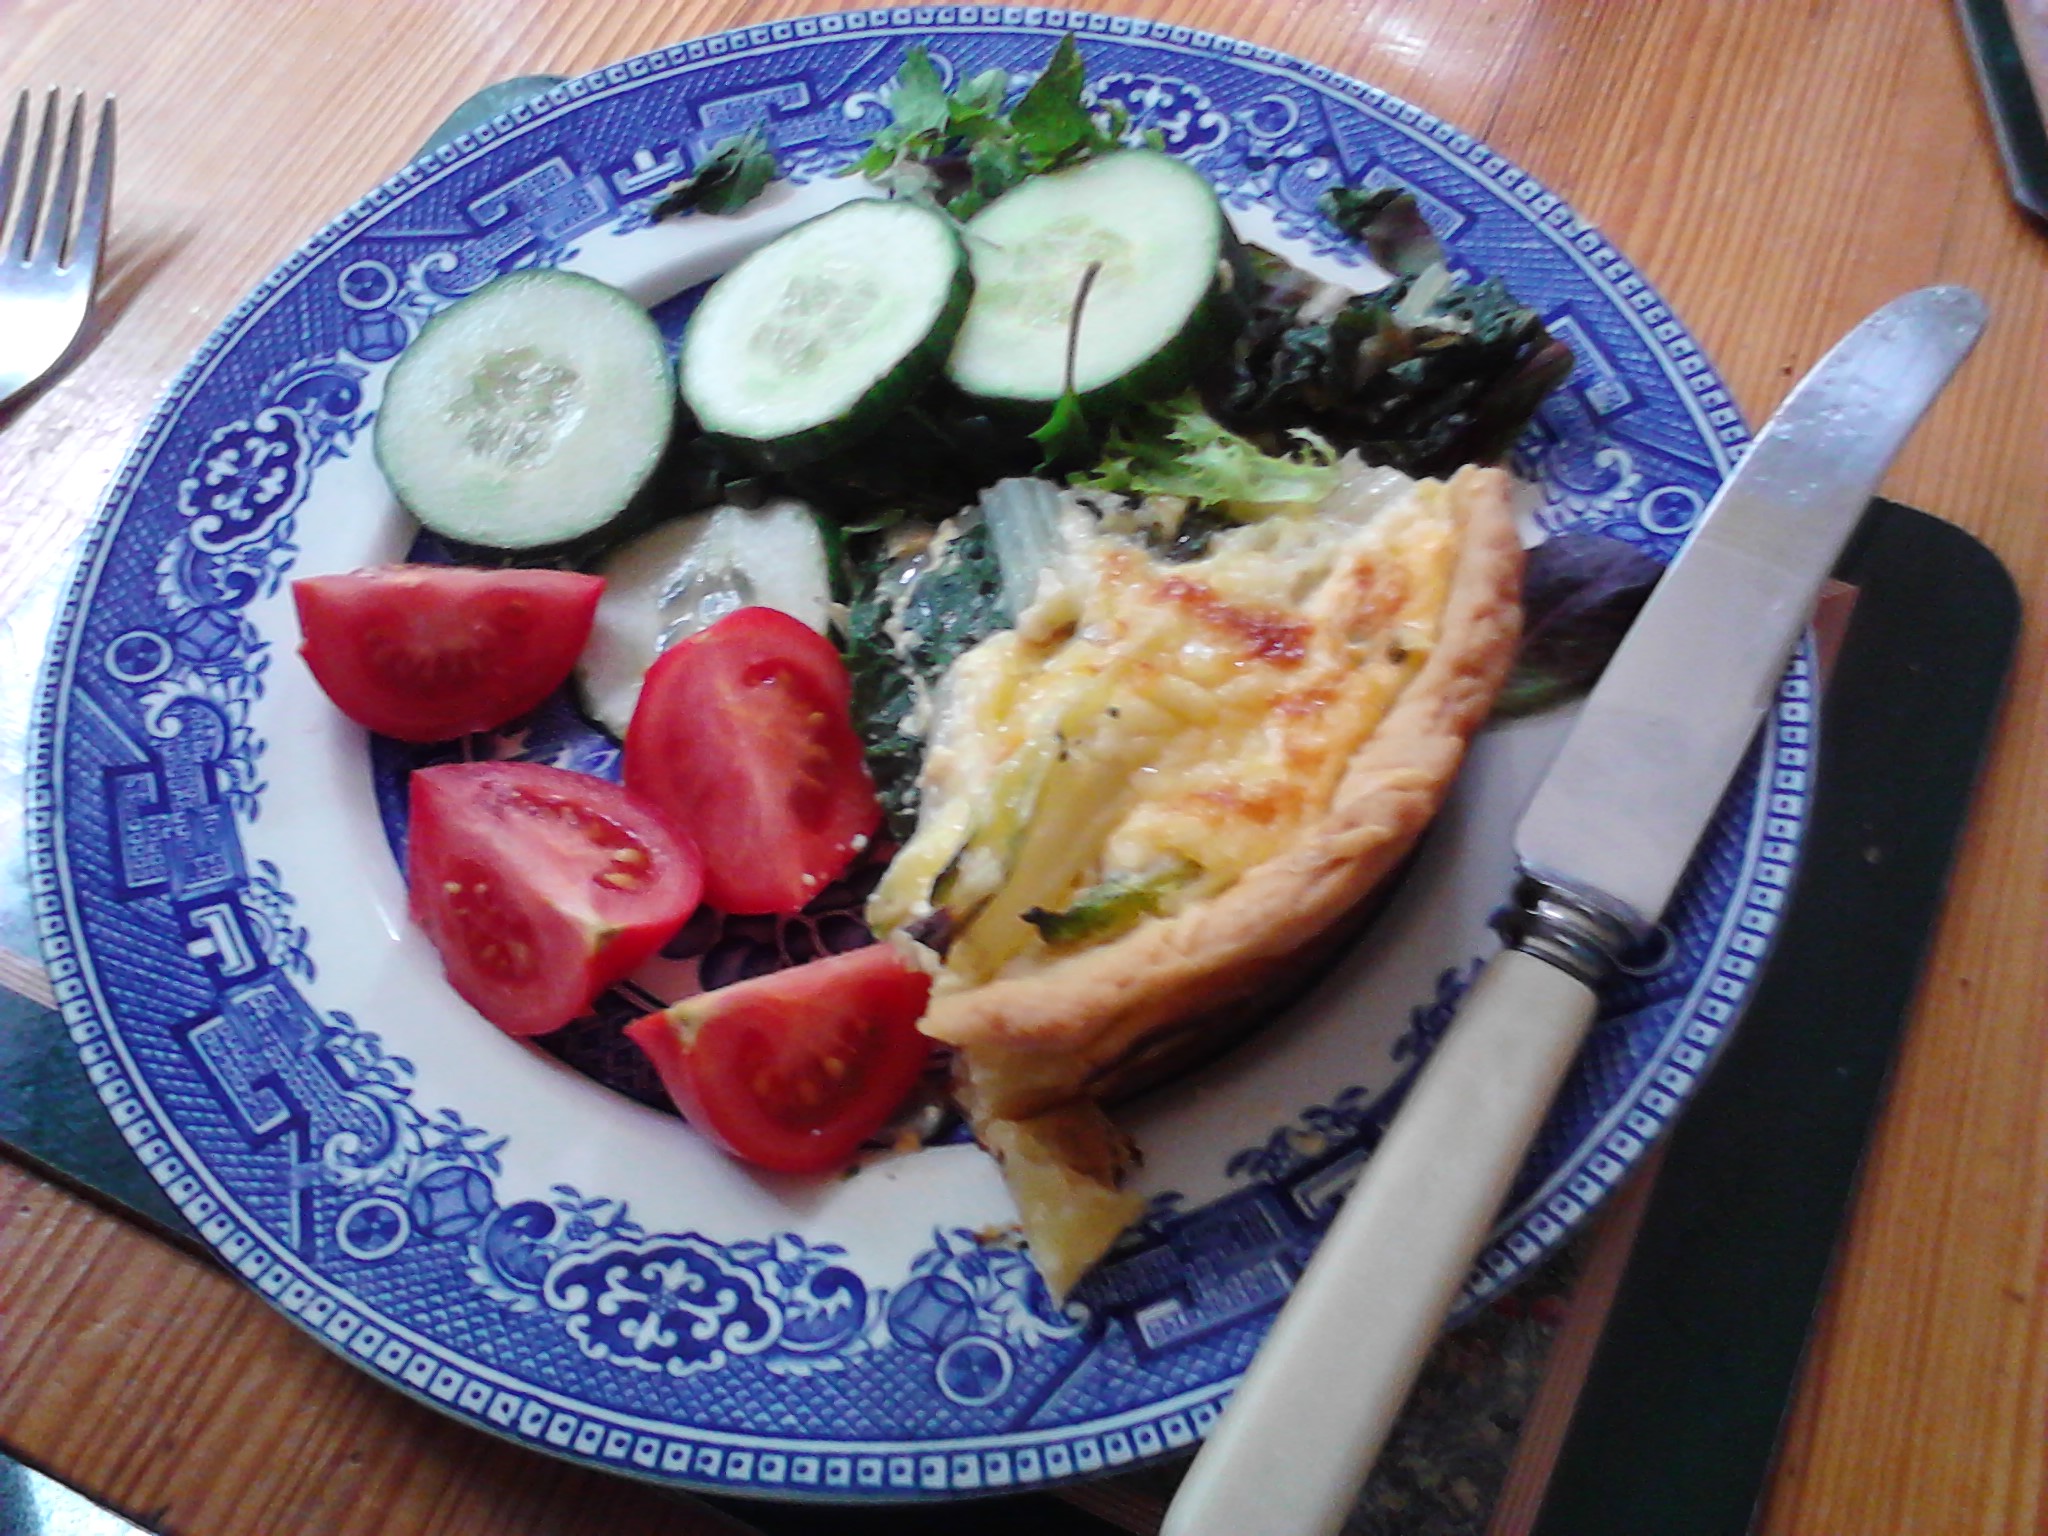
Both quiches came out looking fine, and I’m pleased to report they tasted fine too!

Two quiches
Two quiches

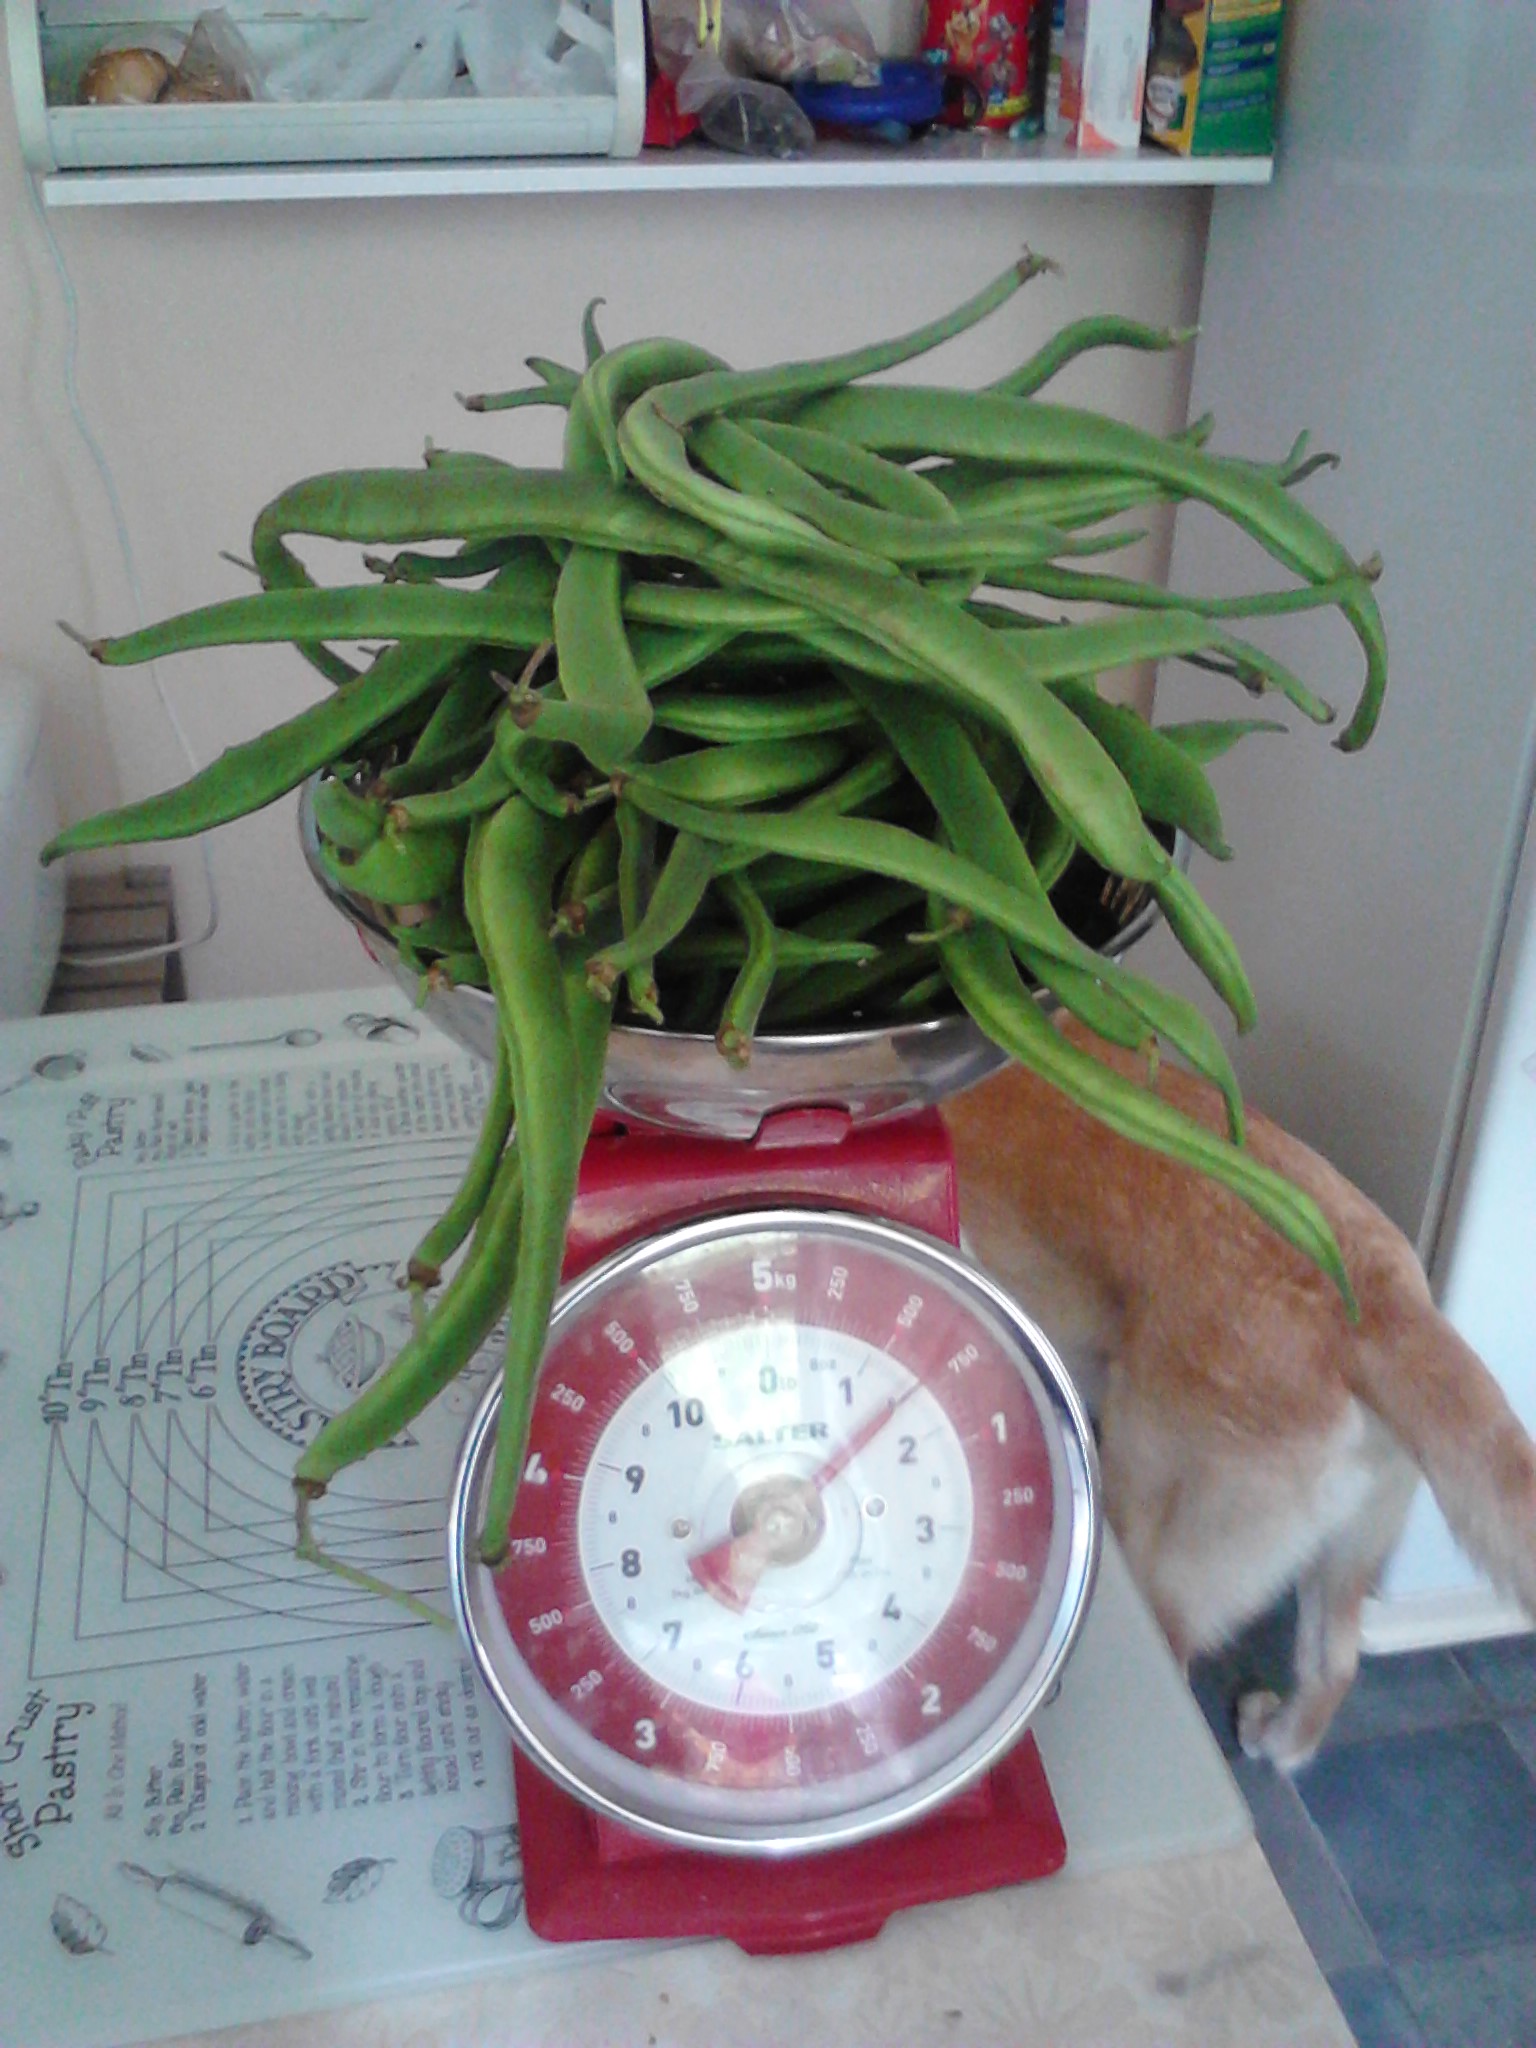
Some people may be wondering what re-ignited my interest in cookery. Well, I’d been complaining for some time about my wife’s scales, as it is difficult to measure small quantities on them. So she bought me a small electronic scales for Christmas and I love them! They have an incremental function on them so that you can put a dish on the scales, set the scale to zero, add the correct amount of an ingredient, set the scales to zero again and add another ingredient into the dish and so on. The scales also have a timer function for the actual cooking.

Electronic cooking scales

Before Christmas I bought a heat pad, so that I could raise bread and other yeast doughs in a more consistent way. Watch out for more blogs about bread making!

Heating pad

Enhanced by Zemanta

Back to the beginning – Cheese Scones.

Cheese scones
Cheese scones

I think that the first thing that I ever cooked was cheese scones. They are an ideal project to start cooking on as they are so simple. I’m not going to mention the actual recipe that I used since there are probably millions of them and they all work pretty well. Basically cheese scones are made from flour (usually self-raising), some shortening (butter, margarine, oil), a small amount of liquid (water or milk), some baking soda (to give the typical scone ‘tang’), salt and a little mustard to taste and of course cheese, usually a fairly strong variety.

They are simple and quick to make and cook and equally simple and quick to eat! I like them hot with butter and apparently so do most people, and in fact I doubt that many scones get to cool to room temperature! If you fancied it, you could add a touch of chili I guess, or some ham or prosciutto. Of course, they don’t have to be cheese scones – I’ve always liked date scones. I suspect that with sweet scones you’d need to reduce or remove the baking soda though.

Anyway my efforts are shown above and below. The pictures don’t really show how toasty brown they were. They look a little pallid in the pictures. I can assure you that they tasted great!

Cheese Scones
Cheese Scones

(I intend to try to post to this blog at least once a week – I haven’t posted since the end of last month and that is not good!)

Soda Bread

We had run out of bread through an oversight, so I decided to make a loaf of Soda Bread (from a recipe in “The Cookery Year”, Reader’s Digest, 1974). This is a non-yeast recipe and uses Bicarbonate of Soda and Cream of Tartar as raising agents. These ingredients produce the Carbon Dioxide in the dough that would be produced by yeast in a standard dough.

Bubbles of Sourdough
CO2 bubbles in a Sourdough ‘starter’.

I decided to cook the Soda Bread in a loaf tin instead of on a tray and it came out looking great. However, there was a tiny bit of uncooked dough at the centre. The outside was beautifully crunchy, so I’m guessing that the mixture was too deep in the tin and it would have been cooked all the way through if I had let it spread more thinly by cooking it on a tray.

IMG_20130425_125046
Soda Bread 1
IMG_20130425_125101
Soda Bread 2

Stuffed Baked Potatoes

Found at https://i0.wp.com/i-cdn.apartmenttherapy.com/uimages/kitchen/2011-09-28-BakedPotato.jpg
Unfortunately these are not my baked potatoes. Click to see the source page.

Well, cheesy baked potatoes would be more accurate. I took two large potatoes, washed them and pierced them, and stuck them in the oven at 220 degrees centigrade. I checked them at 30 minutes, at 45 minutes, and one hour and still they weren’t completely done! Maybe they were too big. Almost certainly they were too big.

When they were done (I thought) I hollowed out the potatoes and mashed the innards and added the cheese. Then I put the cheesy mix back into the potatoes and put the potatoes back in the oven for 15 minutes.

As it turned out, while the top part of the potatoes was fully cooked, the bottom parts were OK, but could have done with a bit more cooking. Who would have thought that simple baked potatoes could have been such an issue?

IMG_20130317_132901
Baked potatoes with cheese

The lessons I’ve learned is to use smaller potatoes – large ones take a long time. Also, I think I should have turned the potatoes at least once.

IMG_20130317_132910
Cheesy potatoes

As usual I looked on the Internet for advice. To summarize the advice there, I could have wrapped the potatoes in foil, or zapped them in the microwave. If I take either of these approaches in the future, I could finish them off in the oven to crisp the skin before removing the innards and stuffing them.

A note on Silver Beet (Swiss Chard)

chard
Silver Beet AKA Swiss Chard (Photo credit: Garden Club2011)

I’ve seen recipes for Silver Beet which use only the green leafy part of the plant. What a tragedy! The stalk part (white or red) is the best part. I usually pull off a stalk from the bunch then slice it into 10 – 15 cms length, all the way to the top of the leaf. Then the whole lot is dumped into boiling salted water for a few minutes. When cooked the green parts wilt down like spinach and the stalks become translucent and creamy.

In the picture below the cook has sliced the silver beet (swiss chard) into 2 – 3 cms lengths. I prefer them sliced into longer pieces.

Chard rice soup / Olleta de bledes vegana
Chard rice soup / Olleta de bledes vegana (Photo credit: Lablascovegmenu) The cook has sliced the stalks into short lengths.

Silver Beet Quiche

I had a couple of large bunches of silver beet and while I love silver beet I wanted to try something a bit different. I haven’t yet made much pastry so I thought I’d give it a try. I went looking for a quiche recipe and came across this Bacon and Leek Quiche recipe which I used as a basis.

Silver beet
Silver beet

So, first of all I made some pastry, using the food processor, and put it into the fridge for 30 minutes. Then I started on the filling.  I put the silver beet on to cook, in salted water. I cut the silver beet into length of 10 – 15 cms. I know that there are people who slice it up small and maybe add it to a stir-fry, but I very much prefer it cooked by itself. Silver beet cooks very quickly so it is also very easy to cook it this way.

A little butter, some milk, cheese and eggs were called for and I used the proportions as in the recipe. However I should have read the recipe more closely – the butter was used to cook the leeks in the original recipe, so I should have melted it before adding to the milk cheese and eggs. Instead I blended the whole lot and it didn’t look too nice, sort of curdled. I reasoned that the cooking process would sort it out. I had no option, apart from ditching the lot!

I retrieved the pastry from the fridge and rolled it out and lined the dish with it. I put some paper in the dish and put some lentils in the paper, I then put the pastry on to cook blind for 10 minutes as instructed in the recipe. Well, it took a lot longer than that to cook, probably because I’d rolled it out a little thickly, I suspect. I’d say about 30 minutes before the pastry was lightly browned at the edges and not too soft in the middle. I’ve looked at various recipes for baking pastry blind since, and they vary tremendously. Some people recommend up to 30 minutes, and some say that it is not necessary to use lentils or beans while baking pastry blind.
So I took the lentils and paper out and filled the case with layers of silver beet and milk cheese and eggs mixture, topped it with some more cheese and put it back in the oven for the recommended 30 minutes. I was a little worried that the pastry edges would burn, but they didn’t and the quiche browned up nicely! Here it is, straight from the oven!

IMG_20130304_133417
Straight out of the oven

When I took it out of the dish it came out fine and didn’t break up, thank goodness.

IMG_20130304_133545
Out of the dish

Here it is plated up with a rustic salad!

IMG_20130304_133944
Plated up with a rough salad!

Beans

beans1
The crop of beans rescued from the disaster.

We nearly always grow Scarlet Runner beans and they grow well here in Wellington. Unfortunately the Wellington weather gave them a severe battering yesterday and blew down the poles. (We had a month’s rain in 24 hours!). I raised the poles and made them secure with an anchor to a tree at each end and hopefully they will survive. In spite of that I still managed to get 1.5 pounds (750 grams) of beans off them!

I put some by for today and looked on the Internet to find out how to preserve them. The site that I came across recommended blanching them and freezing them..

beans2
Topped and tailed and cut into lengths

So I washed them, and then topped and tailed them and cut them into lengths as shown in the image.

Then I set out to blanch them. This process involves giving them a quick boil and then cooling them equally quickly, so I put on a pot of water and got the ice out of the freezer.

Here the logistics got slightly tricky. I didn’t have a lot of ice so I filled up the sink with cold water and put the bowl of ice in it. The idea was for the cold water to slow down the melting of the ice. I don’t know if this actually works or not.

The second issue was that I couldn’t do all the beans in one hit. I boiled half the beans for the recommended three minutes and then hit a snag. I couldn’t drain them into the sink as it had the ice in it surrounded by water! OK, a spare pan solved that one. I dumped the first lot of beans into the ice and filled the original pan with boiled water from the jug and boiled the second lot of beans for three minutes.

beans3
Bagged beans ready for the freezer

The rule of thumb was for the beans to be chilled for as long as they were boiled, so just when the second lot were done the first lot were scheduled to come out of the ice. I didn’t worry too much about this – I just dumped the second lot of beans in with the first. Most of the ice had melted by then. After another three minutes I drained all the beans and put them into a ziplock bag and here is the result.

Next time, if I get as many beans, I will arranged the ice and boiling water in advance so that I don’t have as many (minor) clitches as this time!

Shepherd’s Pie

Shepherd's Pie
Shepherd’s Pie

I had a large piece of cooked lamb to use up, so I decided to make a shepherd’s pie. I first removed the meat from the bone and minced it in a food processor, and then I added two stock cubes and two cups of water to the meat, plus some spices and seasoning. Then I put the dish in the oven at 200 degrees for about 20 minutes.

In retrospect I think that one or one and a half cups of water would have been sufficient, or I could have thickened the mixture a little.

I peeled and boiled some general purpose potatoes for 10 minutes or so.  I also had some Perlas but I decided that they would be too small for the topping so I didn’t use them.

I sliced the par-boiled potatoes and arranged them on the surface of the minced lamb as you can see, and put the disk back in the oven for 15 – 20 minutes.  Then I grated some cheese onto the top and returned the dish to the oven for another 5 minutes.

Unfortunately the potatoes were still on the raw side so I returned the pie to the oven for 15 minutes more. When I do this dish again I will cook the potatoes almost to completion before I add them to the pie.

Shepherd's Pie
Shepherd’s Pie