We had run out of bread through an oversight, so I decided to make a loaf of Soda Bread (from a recipe in “The Cookery Year”, Reader’s Digest, 1974). This is a non-yeast recipe and uses Bicarbonate of Soda and Cream of Tartar as raising agents. These ingredients produce the Carbon Dioxide in the dough that would be produced by yeast in a standard dough.
CO2 bubbles in a Sourdough ‘starter’.
I decided to cook the Soda Bread in a loaf tin instead of on a tray and it came out looking great. However, there was a tiny bit of uncooked dough at the centre. The outside was beautifully crunchy, so I’m guessing that the mixture was too deep in the tin and it would have been cooked all the way through if I had let it spread more thinly by cooking it on a tray.
I thought about cooking “Hot Cross Buns” for a while, but finally decided to make an attempt at cooking some. There are three components to Hot Cross Buns, firstly the buns themselves, secondly the cross on the top, and thirdly the glaze. I used this recipe from the New Zealand Herald. Here’s the result.
Hot cross buns
The dough was straightforward, but included extra ingredients like sultanas. An interesting observation was that the sultanas seemed to pop out of the dough if they came to the surface during kneading!
After the usual kneading and rising the dough was divided into buns and the cross was put onto them. The cross was a simple mixture of flour and water but piping it onto the buns was a challenge. Unlike frosting or icing I didn’t find it easy to finish a line. I snipped the line of ‘cross’ with kitchen scissors to end it. A wet finger tidied up, but I wasn’t completely happy with the crosses (and they turned out to be chewy. The dog benefited!)
As a final step, when the buns were cooked, the glaze was applied. It’s a simple gelatine glaze, but I’ve not done one before, so I was pleased with the results. The glaze gave, as intended, a nice shiny, sticky finish to the buns.
The buns tasted great, so I consider this a great success.
OK, I ran out of snacks for Hamish and Duncan so I decided to try some cheese straws. I used the recipe here. The Guardian’s recipe promised “perfect Cheese straws”. Sounded good. The article actually goes into the topic of cheese straws in some depth quoting various chefs, but has its recipe towards the bottom of the main article, above the comments.
I made half quantities again, but even so, it only took a few minutes before my hands started to ache as I rubbed the butter in. I abandoned the manual approach and used a food mixer. This was the first time I’d seriously used a food mixer, so I’m not sure if I used the right blades or not. They were sharp-edged metal things.
I discovered a couple of things about processing stuff in food mixers.
Firstly, if you have to add a lot of an ingredient, a quantity of cheese for example, it’s a lot easier to add bulk ingredients by stopping the mixer and taking the top off and dumping it all in. Shoving it through the tiny hole at the top doesn’t really hack it! Doh!
Secondly, the recipe says to add water slowly until the dough ‘comes together in a firm dough’. What this means is that the dough suddenly goes from a breadcrumb-like consistency to a single sizeable lump and the mixer leaps about the work surface.
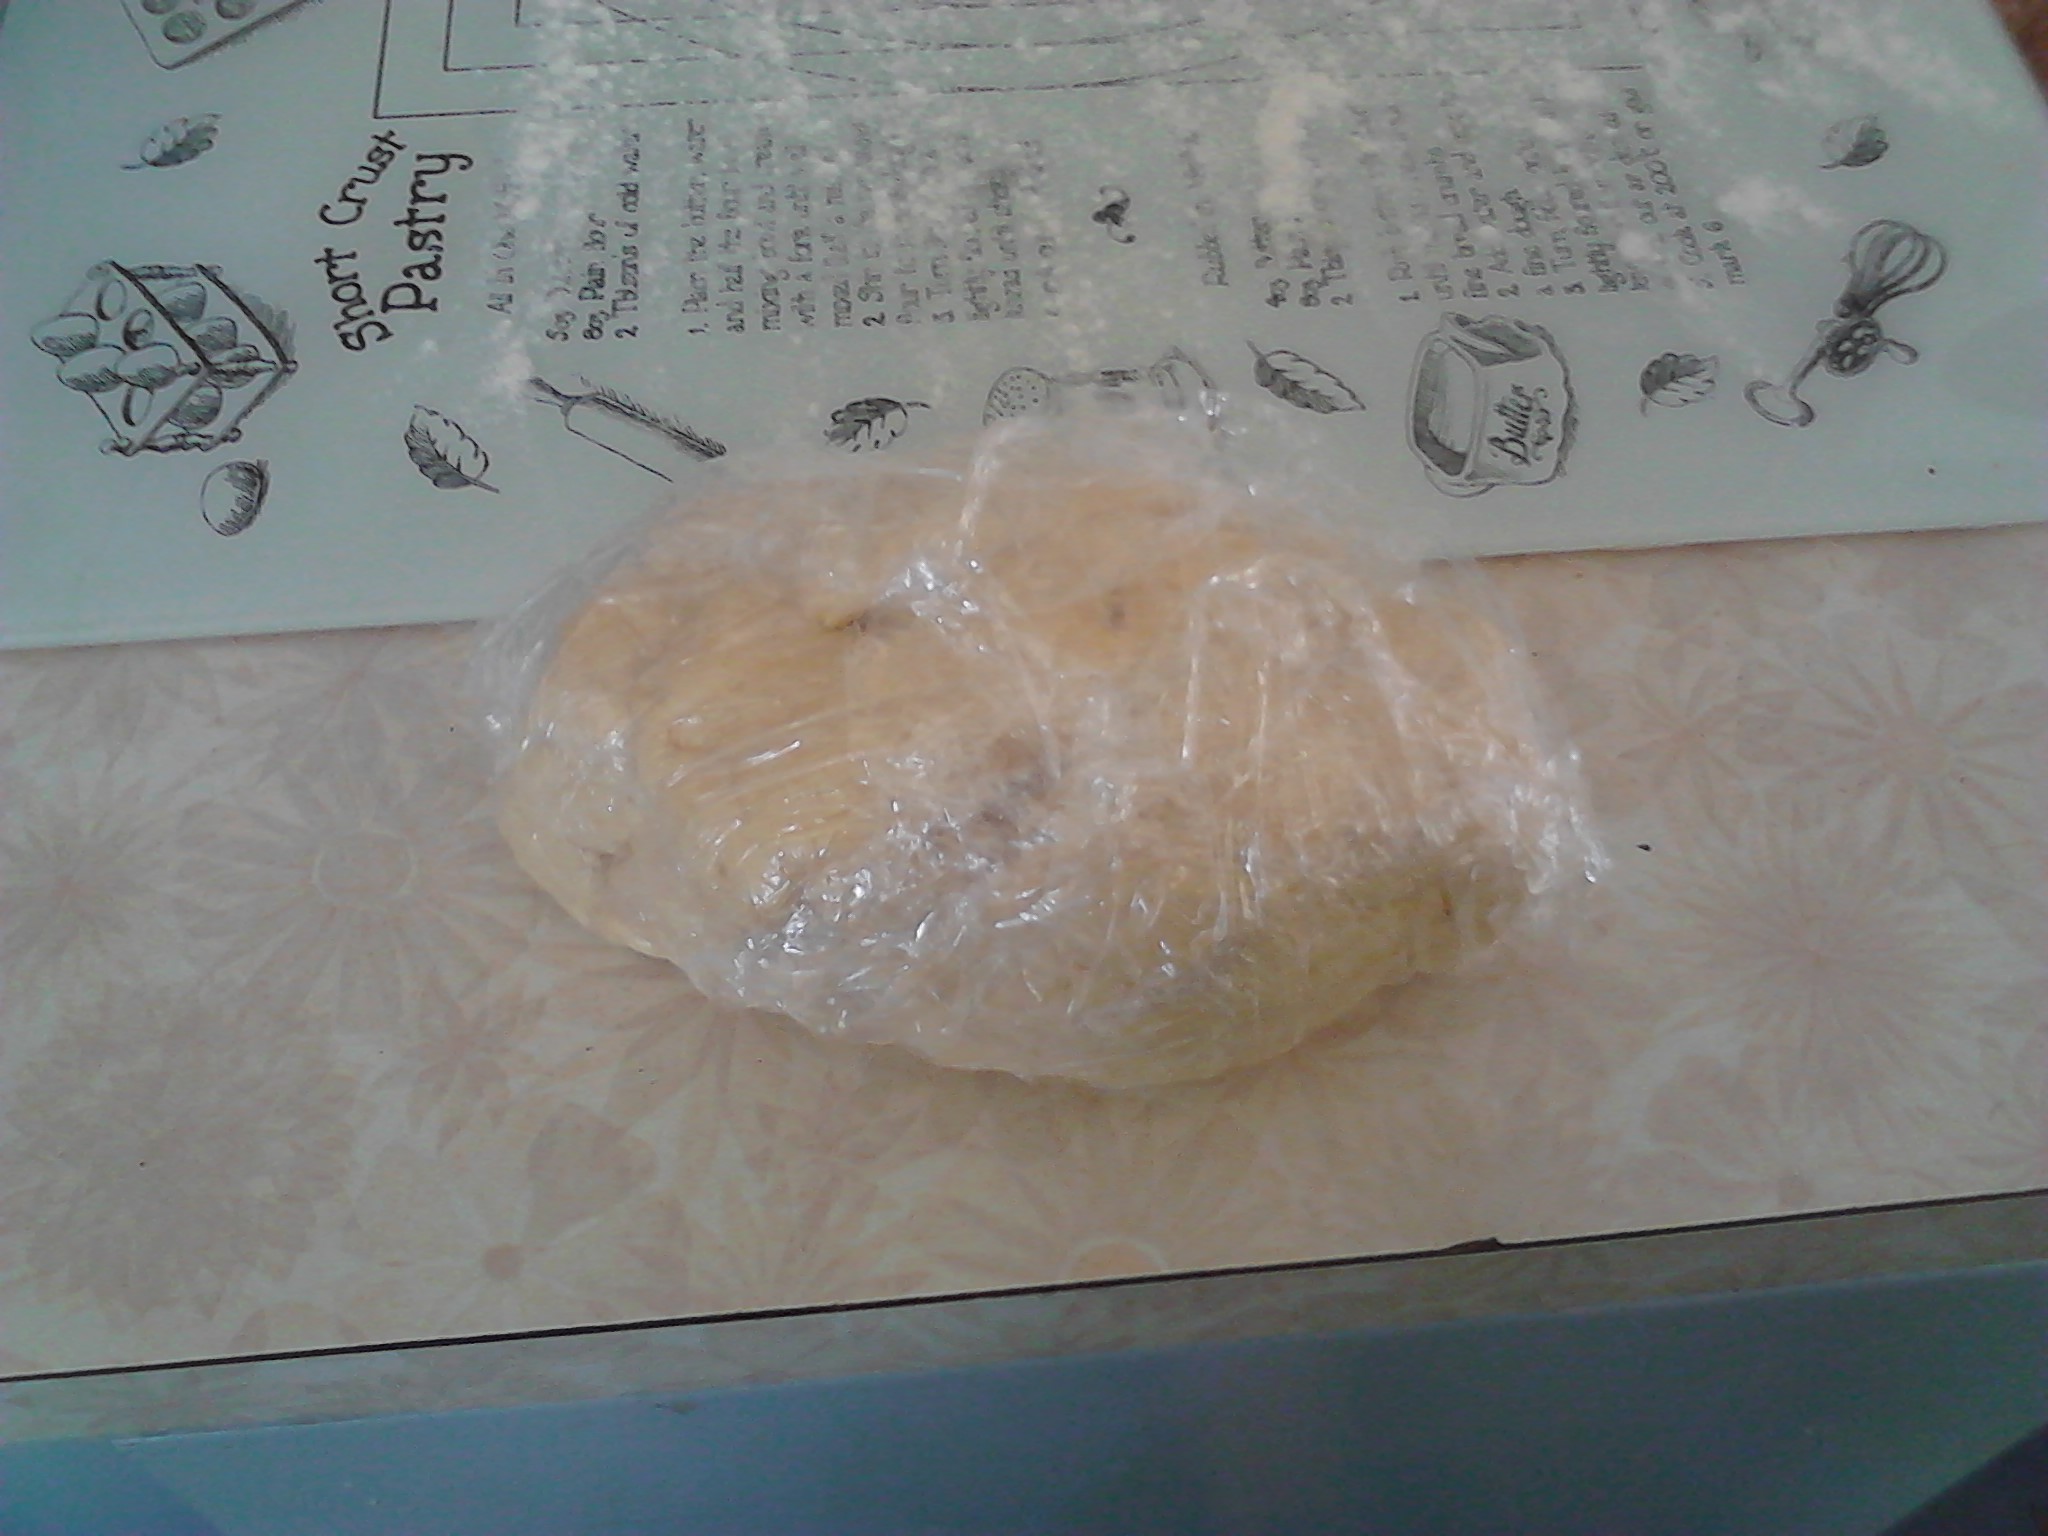
Anyway, here’s the dough in cling film ready for the fridge.
The dough ready for putting into the fridge for 30 minutes
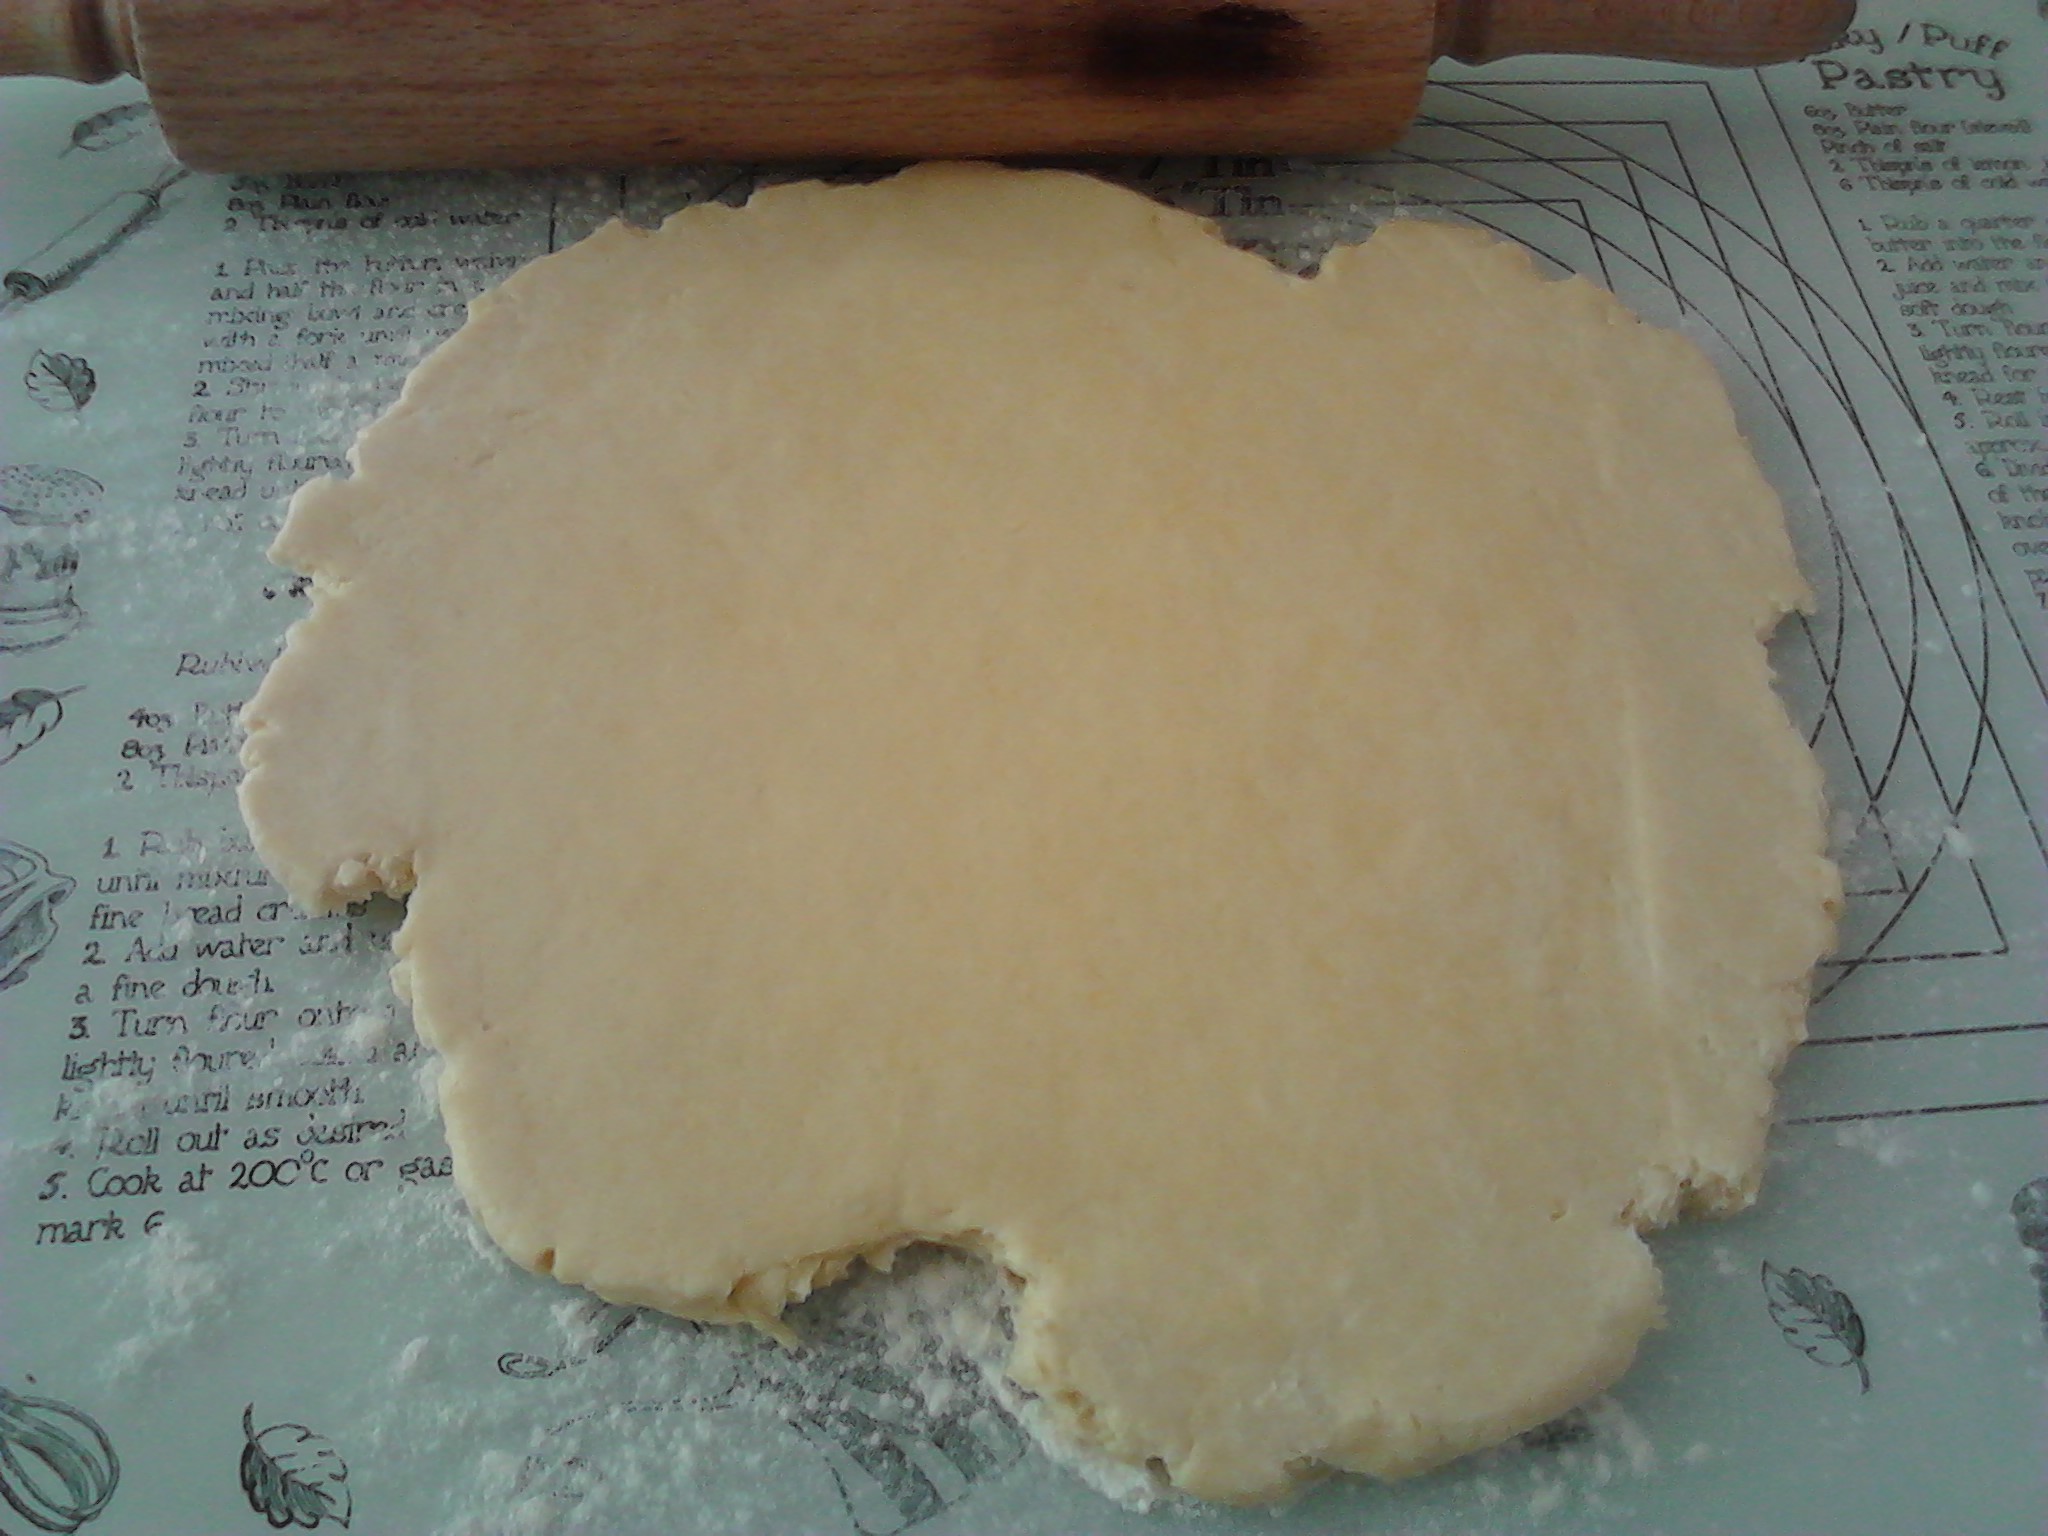
After the dough had been in the fridge for 30 minutes, it was just a matter of making the straws and cooking them.
The dough rolled out
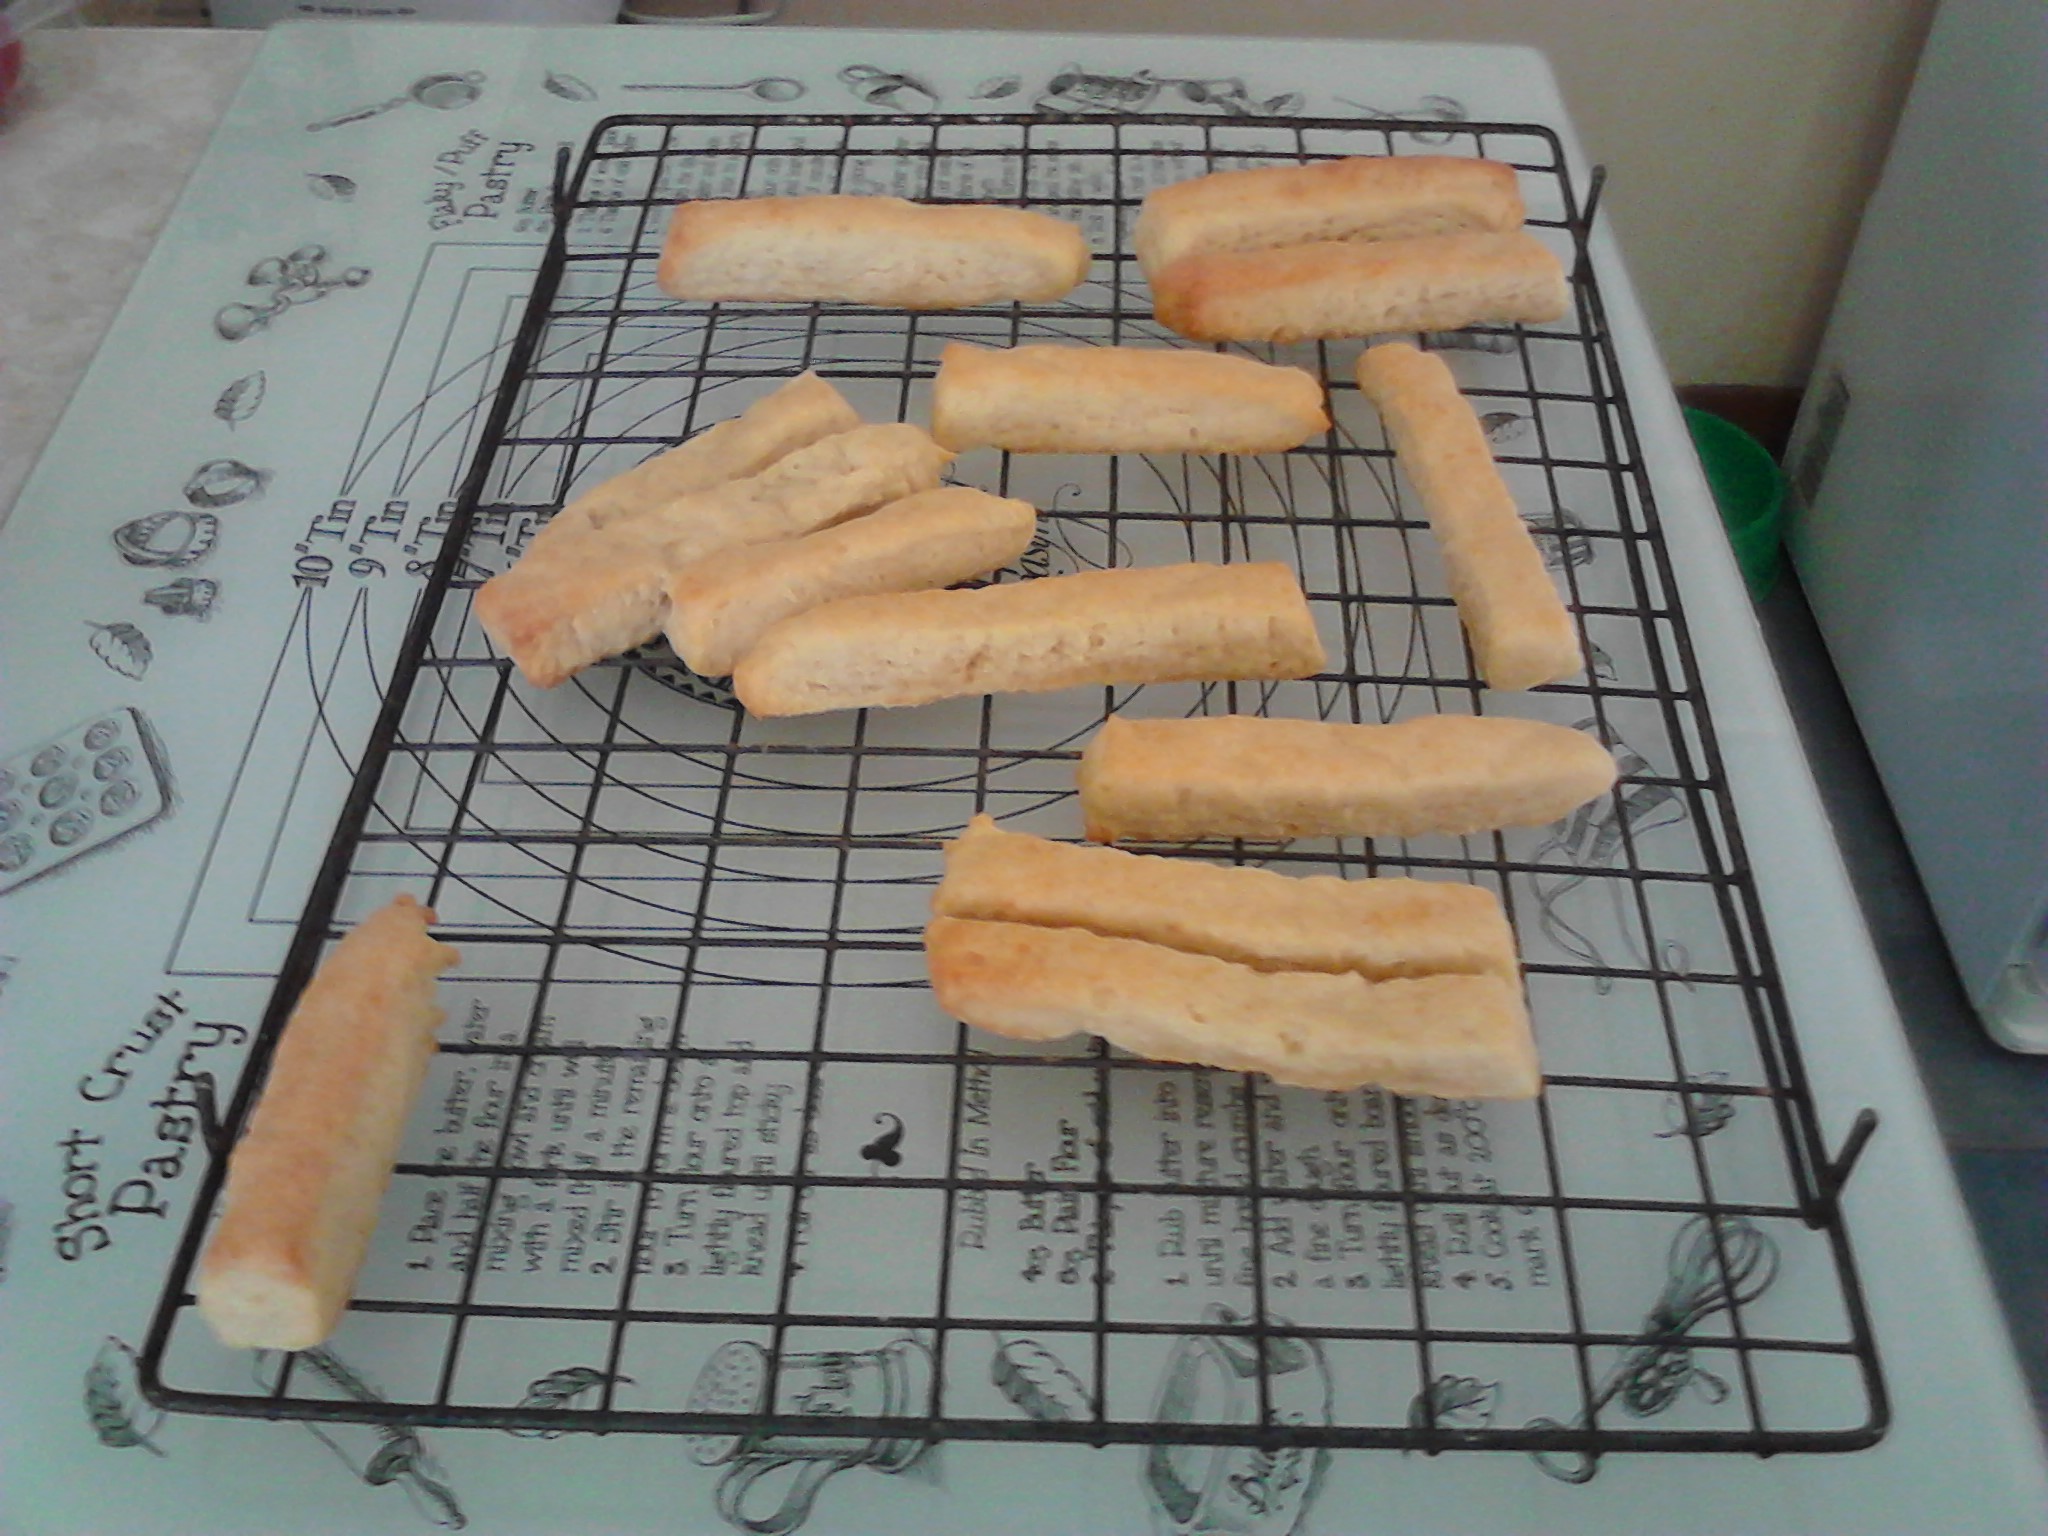
Making them was simple enough, but I misread the instructions and cooked them for only 5 minutes instead of 20 minutes! So I put them in for 5 minutes at a time until they were cooked. Actually they tasted a bit doughy so perhaps I should have cooked them longer. Here’s the finished product.
The end result. They are a little pallid as I misread the recipe!
Damper or camp bread is a quick and easy bread which does not use yeast as a raising agent. Since it does not use yeast it needs either ‘self-raising’ flour or rising agents like baking powder.
The reason I was considering it was that I found that I’d forgotten to bake any bread. I decided to make some damper from a recipe that I found on the Internet. I chose to make half-quantities and may have miscalculated somewhere as the dough was dry and flakey even after adding all the specified liquid. (The recipe referred to uses water – some recipes use milk).
I added a little more water to get a reasonable dough and cooked it as specified. It came out a bit ‘blond’ probably because I didn’t glaze it with a little milk. It was very crumbly. I’ve not made or had damper before so I’m not sure if this is usual. The taste was more like scone than bread. Anyway, here it is.
The focaccia loaf as it came out of the oven. (This is a cellphone picture and is therefore not very sharp).
Mmm, I decided to try a little more unusual bread this time, a flat bread instead of the more normal loaves. While focaccia is a risen bread and does use yeast, it is still categorised as a flat bread. I got the recipe here.
The recipe is fairly complex. You have to form a ‘well’ from the dry ingredients, add the yeast and water, let the yeast start working them fold in the dry ingredients with a wooden spoon. Then you raise it as normal, knock it back and let it raise in a cold oven with a dish of hot water below it. Then you turn the oven on and cook the bread. It seems to me that there is unnecessary complexity there, but I’ll see when I try it again.
The focaccia loaf sliced. (This is a cellphone pictures and is not very sharp).