I’ve seen recipes for Silver Beet which use only the green leafy part of the plant. What a tragedy! The stalk part (white or red) is the best part. I usually pull off a stalk from the bunch then slice it into 10 – 15 cms length, all the way to the top of the leaf. Then the whole lot is dumped into boiling salted water for a few minutes. When cooked the green parts wilt down like spinach and the stalks become translucent and creamy.
In the picture below the cook has sliced the silver beet (swiss chard) into 2 – 3 cms lengths. I prefer them sliced into longer pieces.
Chard rice soup / Olleta de bledes vegana (Photo credit: Lablascovegmenu) The cook has sliced the stalks into short lengths.
I found a recipe on the “Strands of my life” blog for Jamie Olivers’ 30 minute Cauliflower Macaroni Cheese and I decided to make a variation of it without the Macaroni. I didn’t try to do it in 30 minutes.
(Note: the recipe is lifted from his book, to which there is a link on the blog. Of course, you don’t have to buy the book to use the recipe, so the ethics of posting a recipe from a book might be a bit dodgy. On the other hand, the blog entry does act as an advertisement for the book.)
Jamie’s 30 minute meals
Anyway, I did as the recipe suggests and put the bacon into the dish that I was going to use and put the dish in the oven, then started the cauliflower cooking. I actually needed to cut the cauliflower a little smaller than the recipe suggests as I was only cooking a small amount of cauliflower so used a smaller pan.
I grated the cheese, mixed it with the crème fraîche and some garlic powder. As the recipe directs, I took the dish with the bacon from the oven and processed the bacon with the bread and some rosemary leaves. I had expected the bacon to be crunchy, bit it was still soft, but I pressed on. The recipe calls for a little olive oil, which I added and which serves to cause the topping to crisp up nicely.
At this stage the cauliflower was cooked and I strained it, keeping the liquor as directed. Then it was just a matter of putting it together. The cauliflower went into the dish that the bacon had been cooking in. There was a fair bit of juice from the bacon in the dish, then in went some of the liquor from cooking the cauliflower, then the cheese/crème fraîche mixture. The mixture was a little too liquid, though the recipe calls for it to be “loose”, so next time I will add a little of the liquor first, then more after I see what it looks like.
Finally I covered the top with the bacon, breadcrumb and oil topping and cooked it as directed by the recipe. It came out of the oven like this. It could have been a little crisper on top.
Cauliflower cheese with bacon and breadcrumb topping
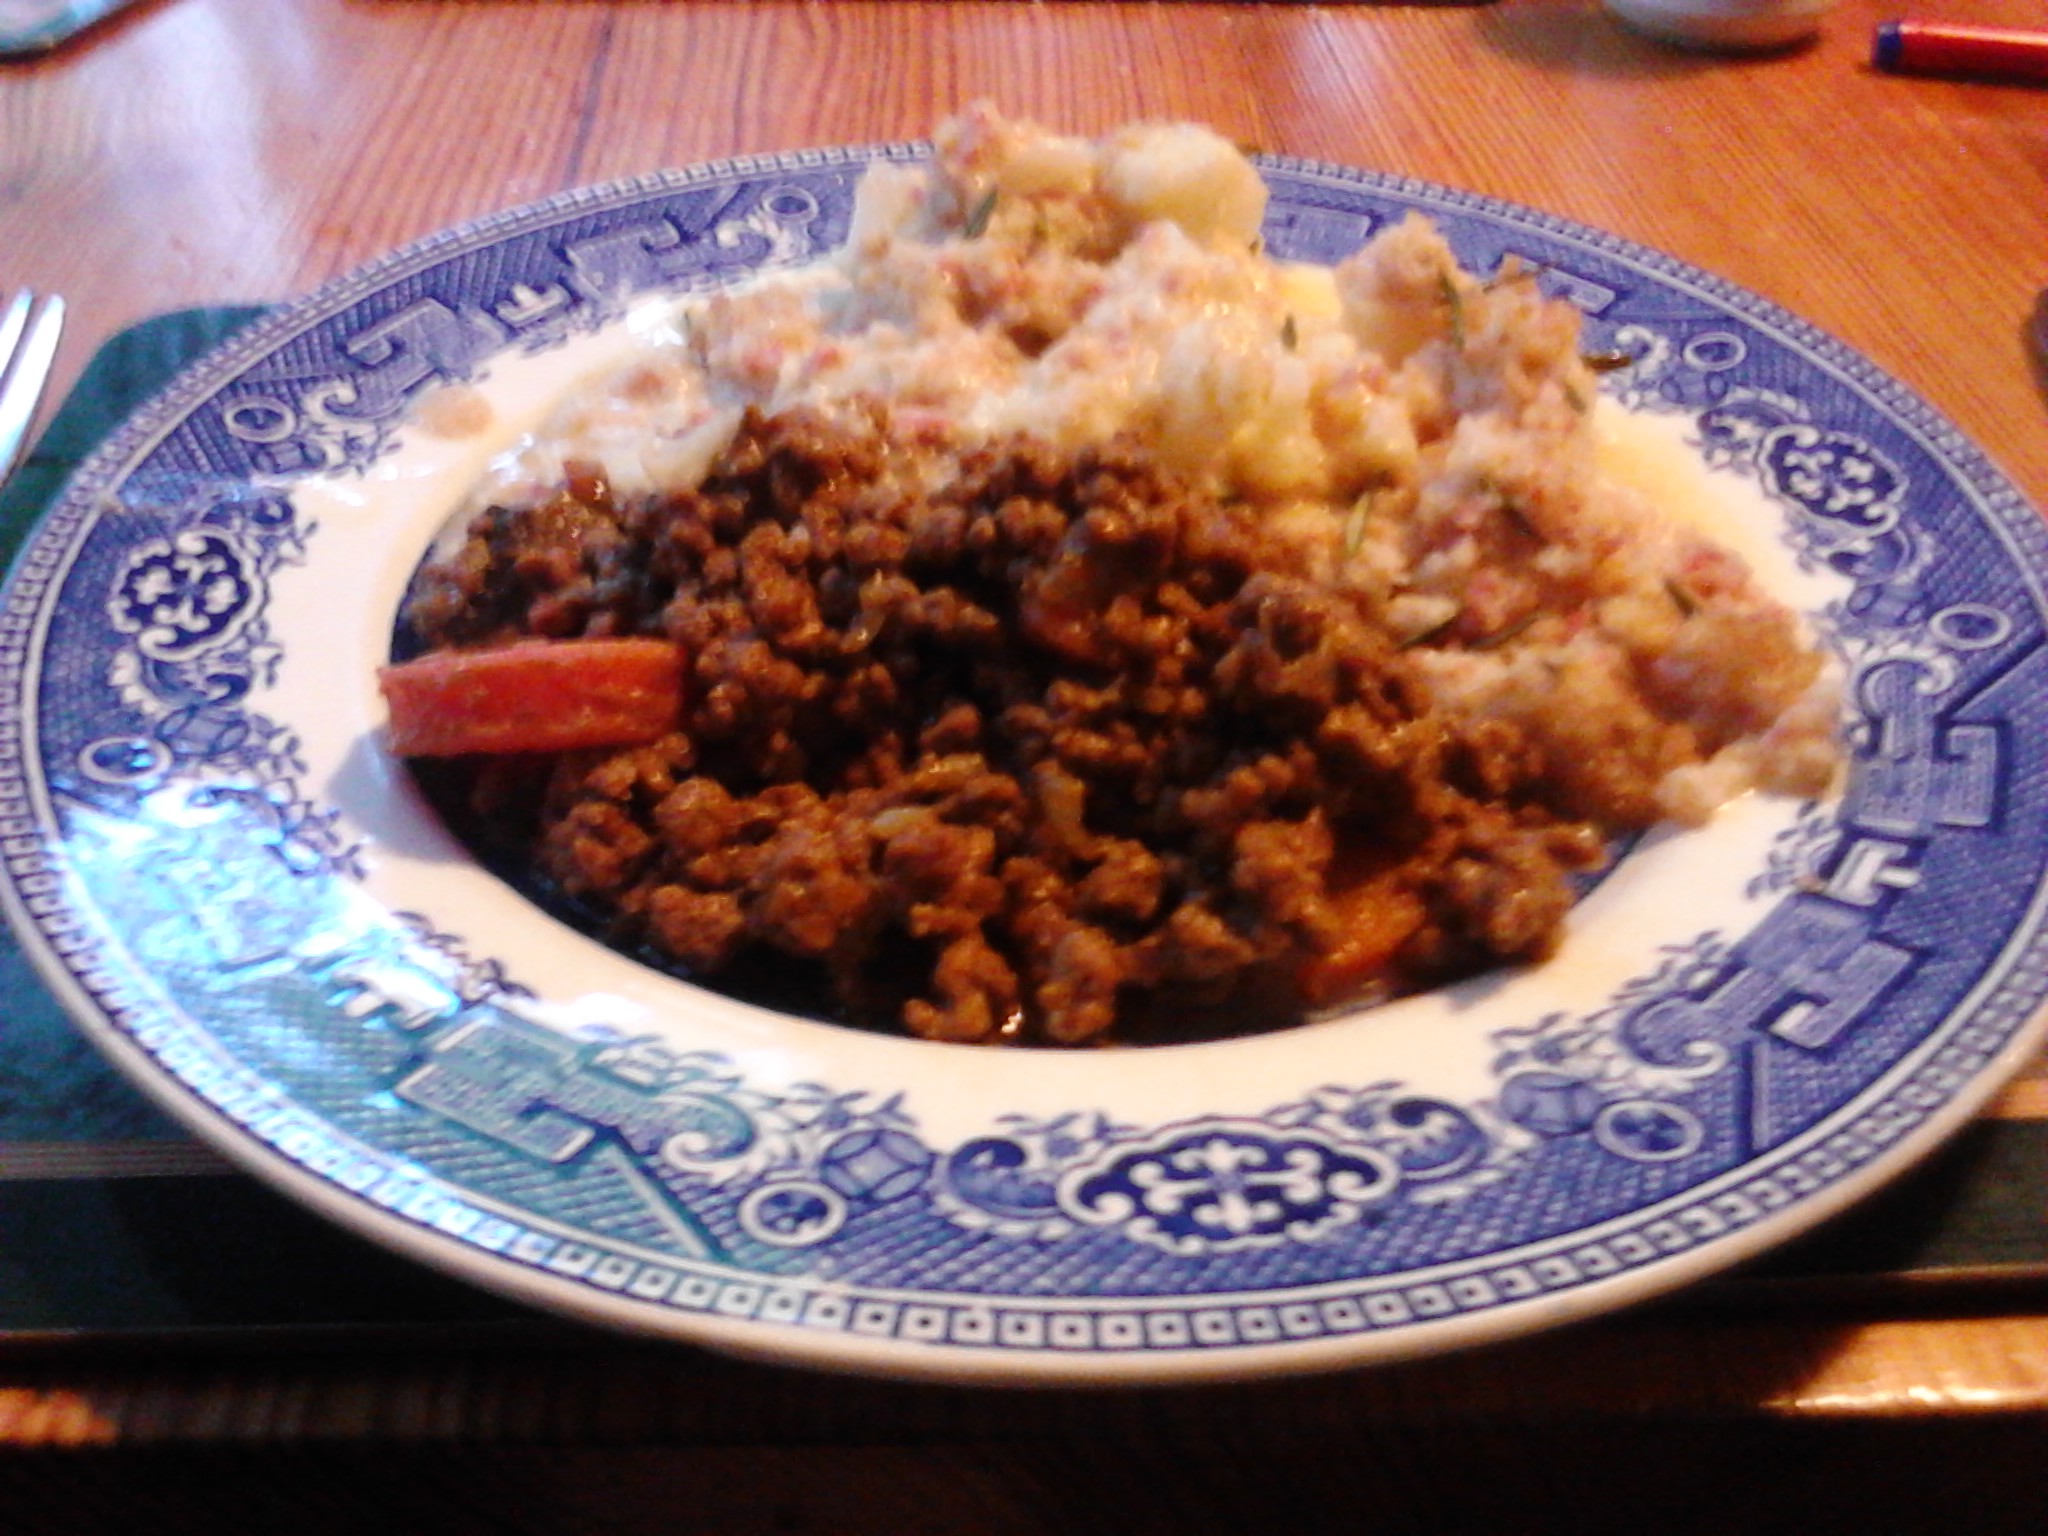
Here’s a picture of it on a plate. The mince was cooked the other day!
OK, I ran out of snacks for Hamish and Duncan so I decided to try some cheese straws. I used the recipe here. The Guardian’s recipe promised “perfect Cheese straws”. Sounded good. The article actually goes into the topic of cheese straws in some depth quoting various chefs, but has its recipe towards the bottom of the main article, above the comments.
I made half quantities again, but even so, it only took a few minutes before my hands started to ache as I rubbed the butter in. I abandoned the manual approach and used a food mixer. This was the first time I’d seriously used a food mixer, so I’m not sure if I used the right blades or not. They were sharp-edged metal things.
I discovered a couple of things about processing stuff in food mixers.
Firstly, if you have to add a lot of an ingredient, a quantity of cheese for example, it’s a lot easier to add bulk ingredients by stopping the mixer and taking the top off and dumping it all in. Shoving it through the tiny hole at the top doesn’t really hack it! Doh!
Secondly, the recipe says to add water slowly until the dough ‘comes together in a firm dough’. What this means is that the dough suddenly goes from a breadcrumb-like consistency to a single sizeable lump and the mixer leaps about the work surface.
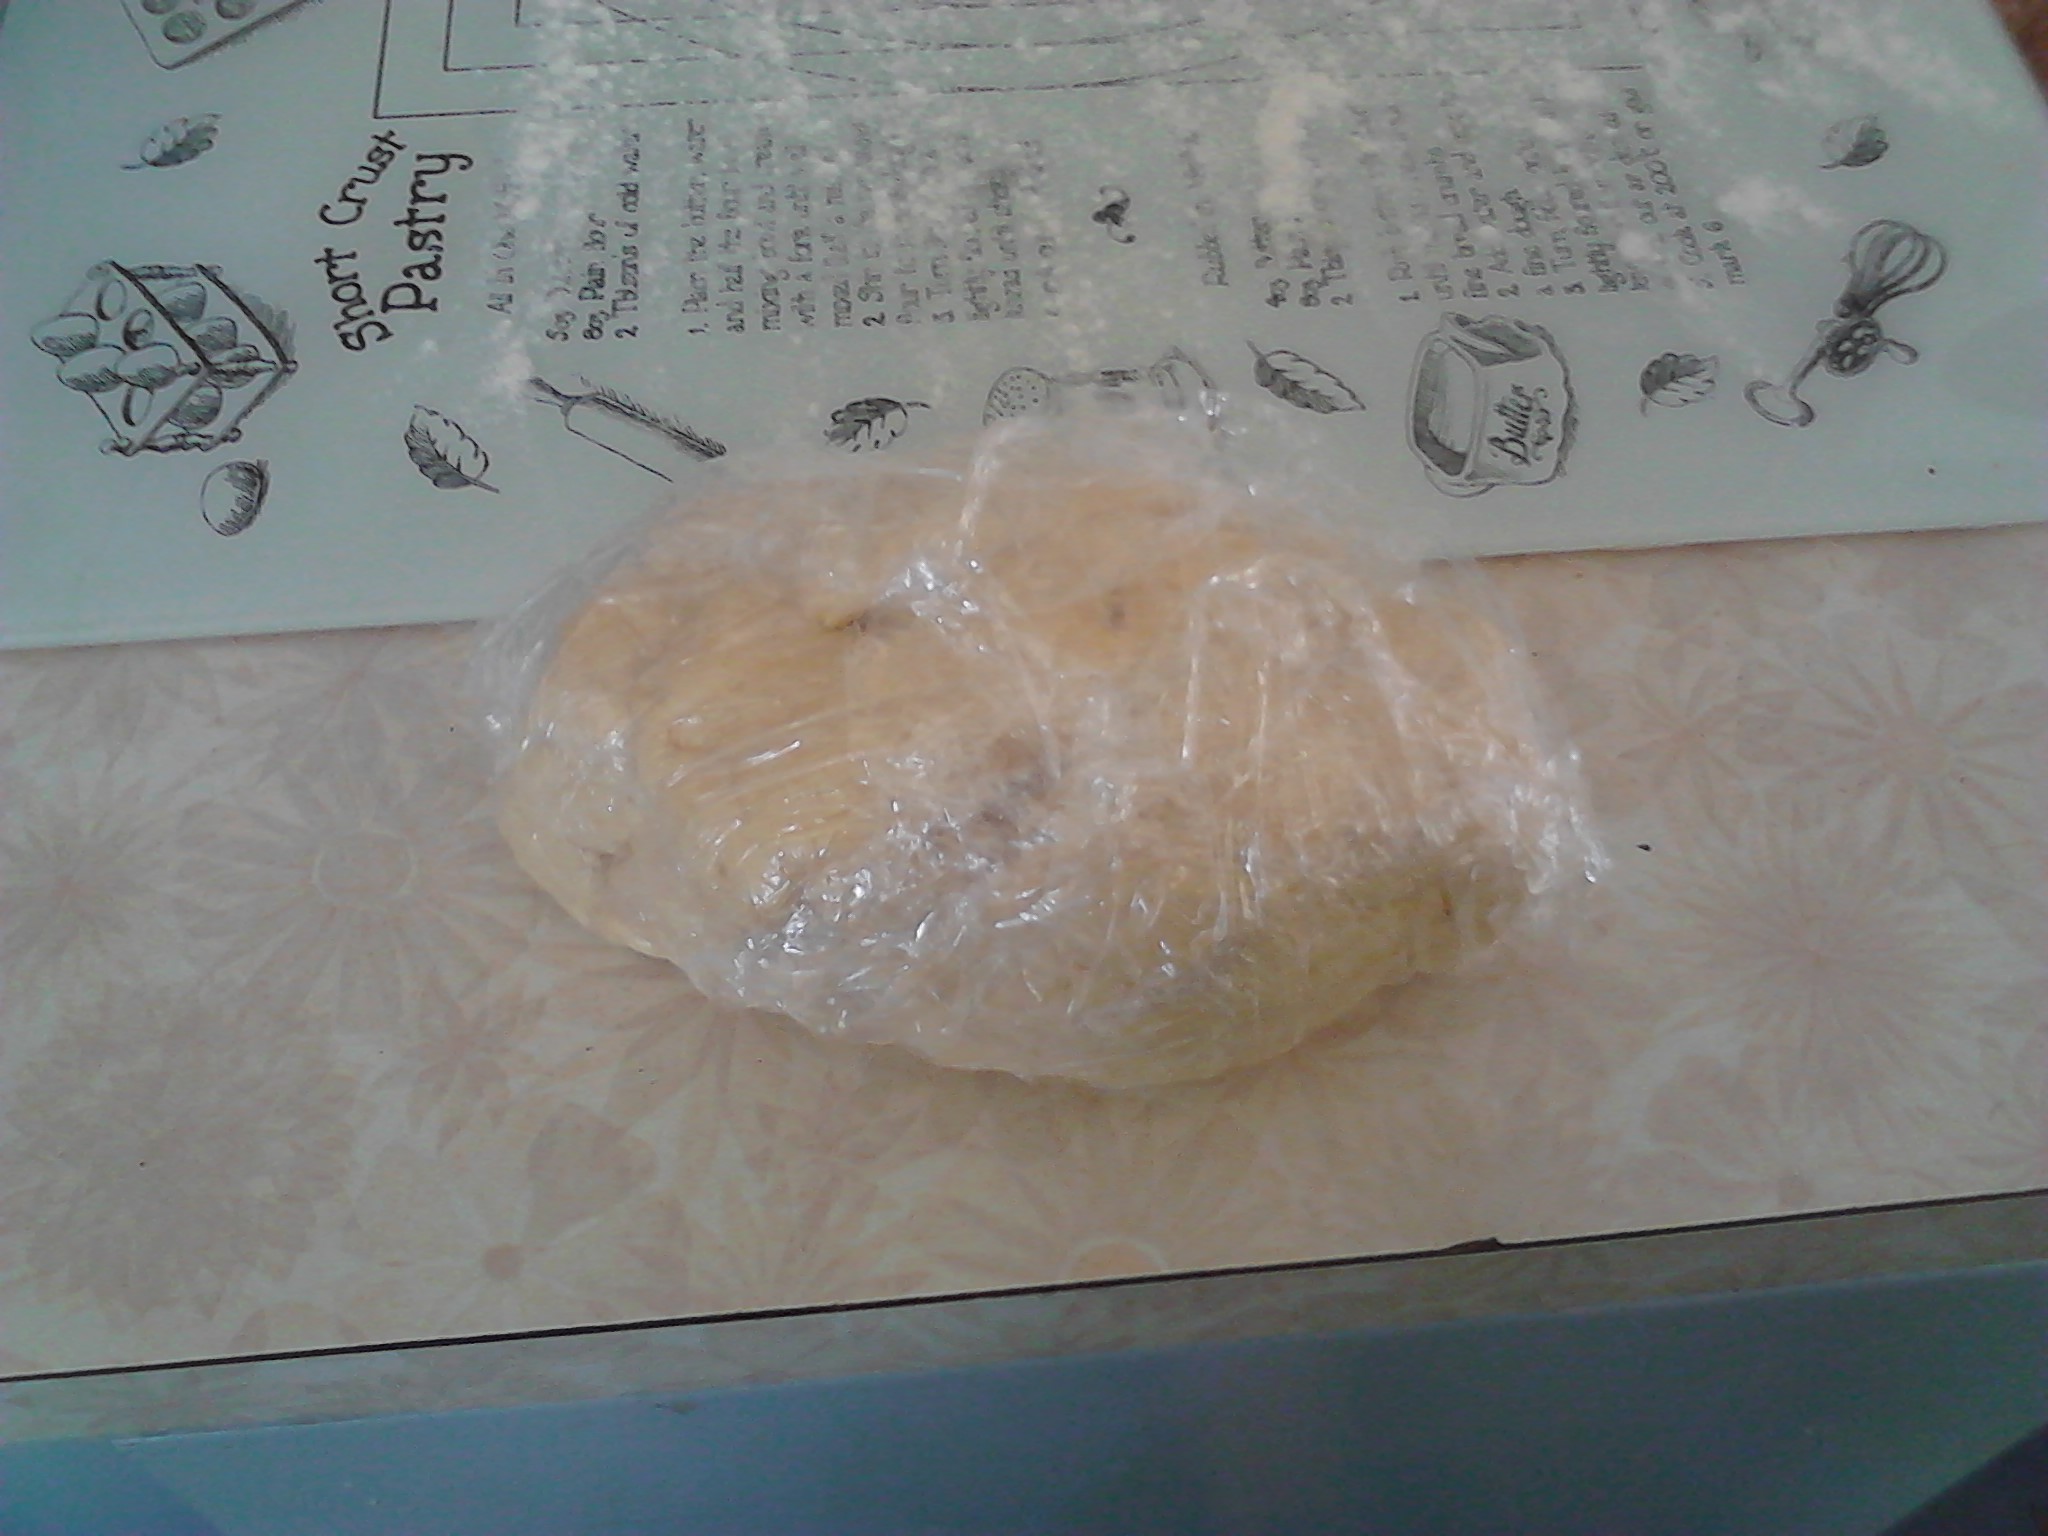
Anyway, here’s the dough in cling film ready for the fridge.
The dough ready for putting into the fridge for 30 minutes
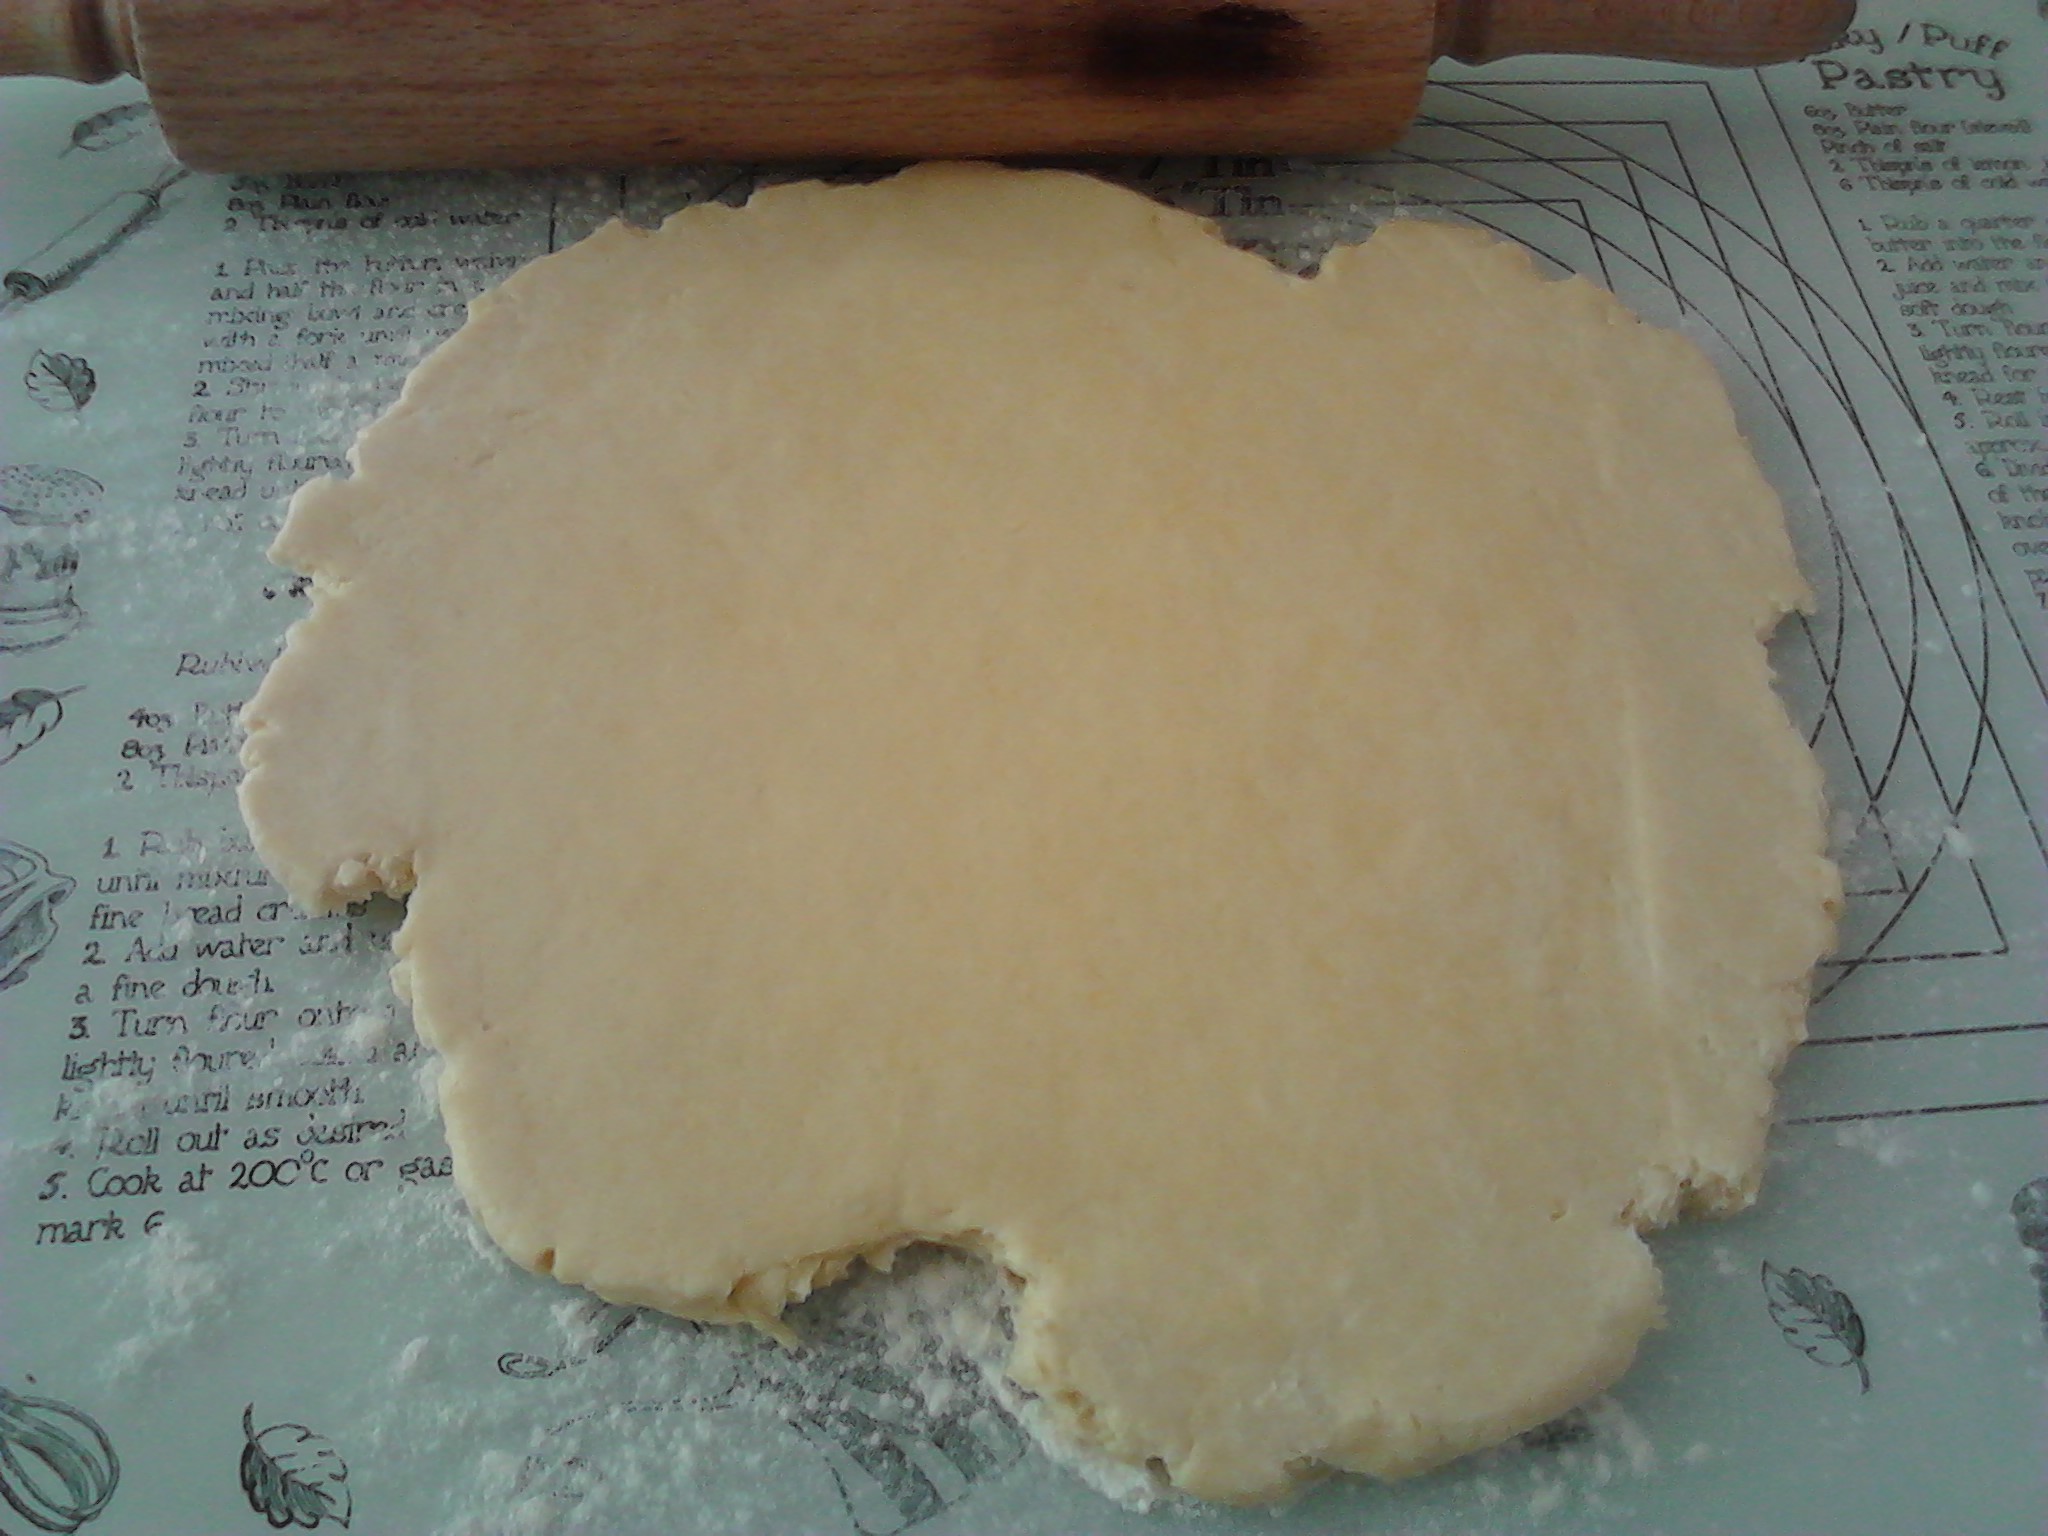
After the dough had been in the fridge for 30 minutes, it was just a matter of making the straws and cooking them.
The dough rolled out
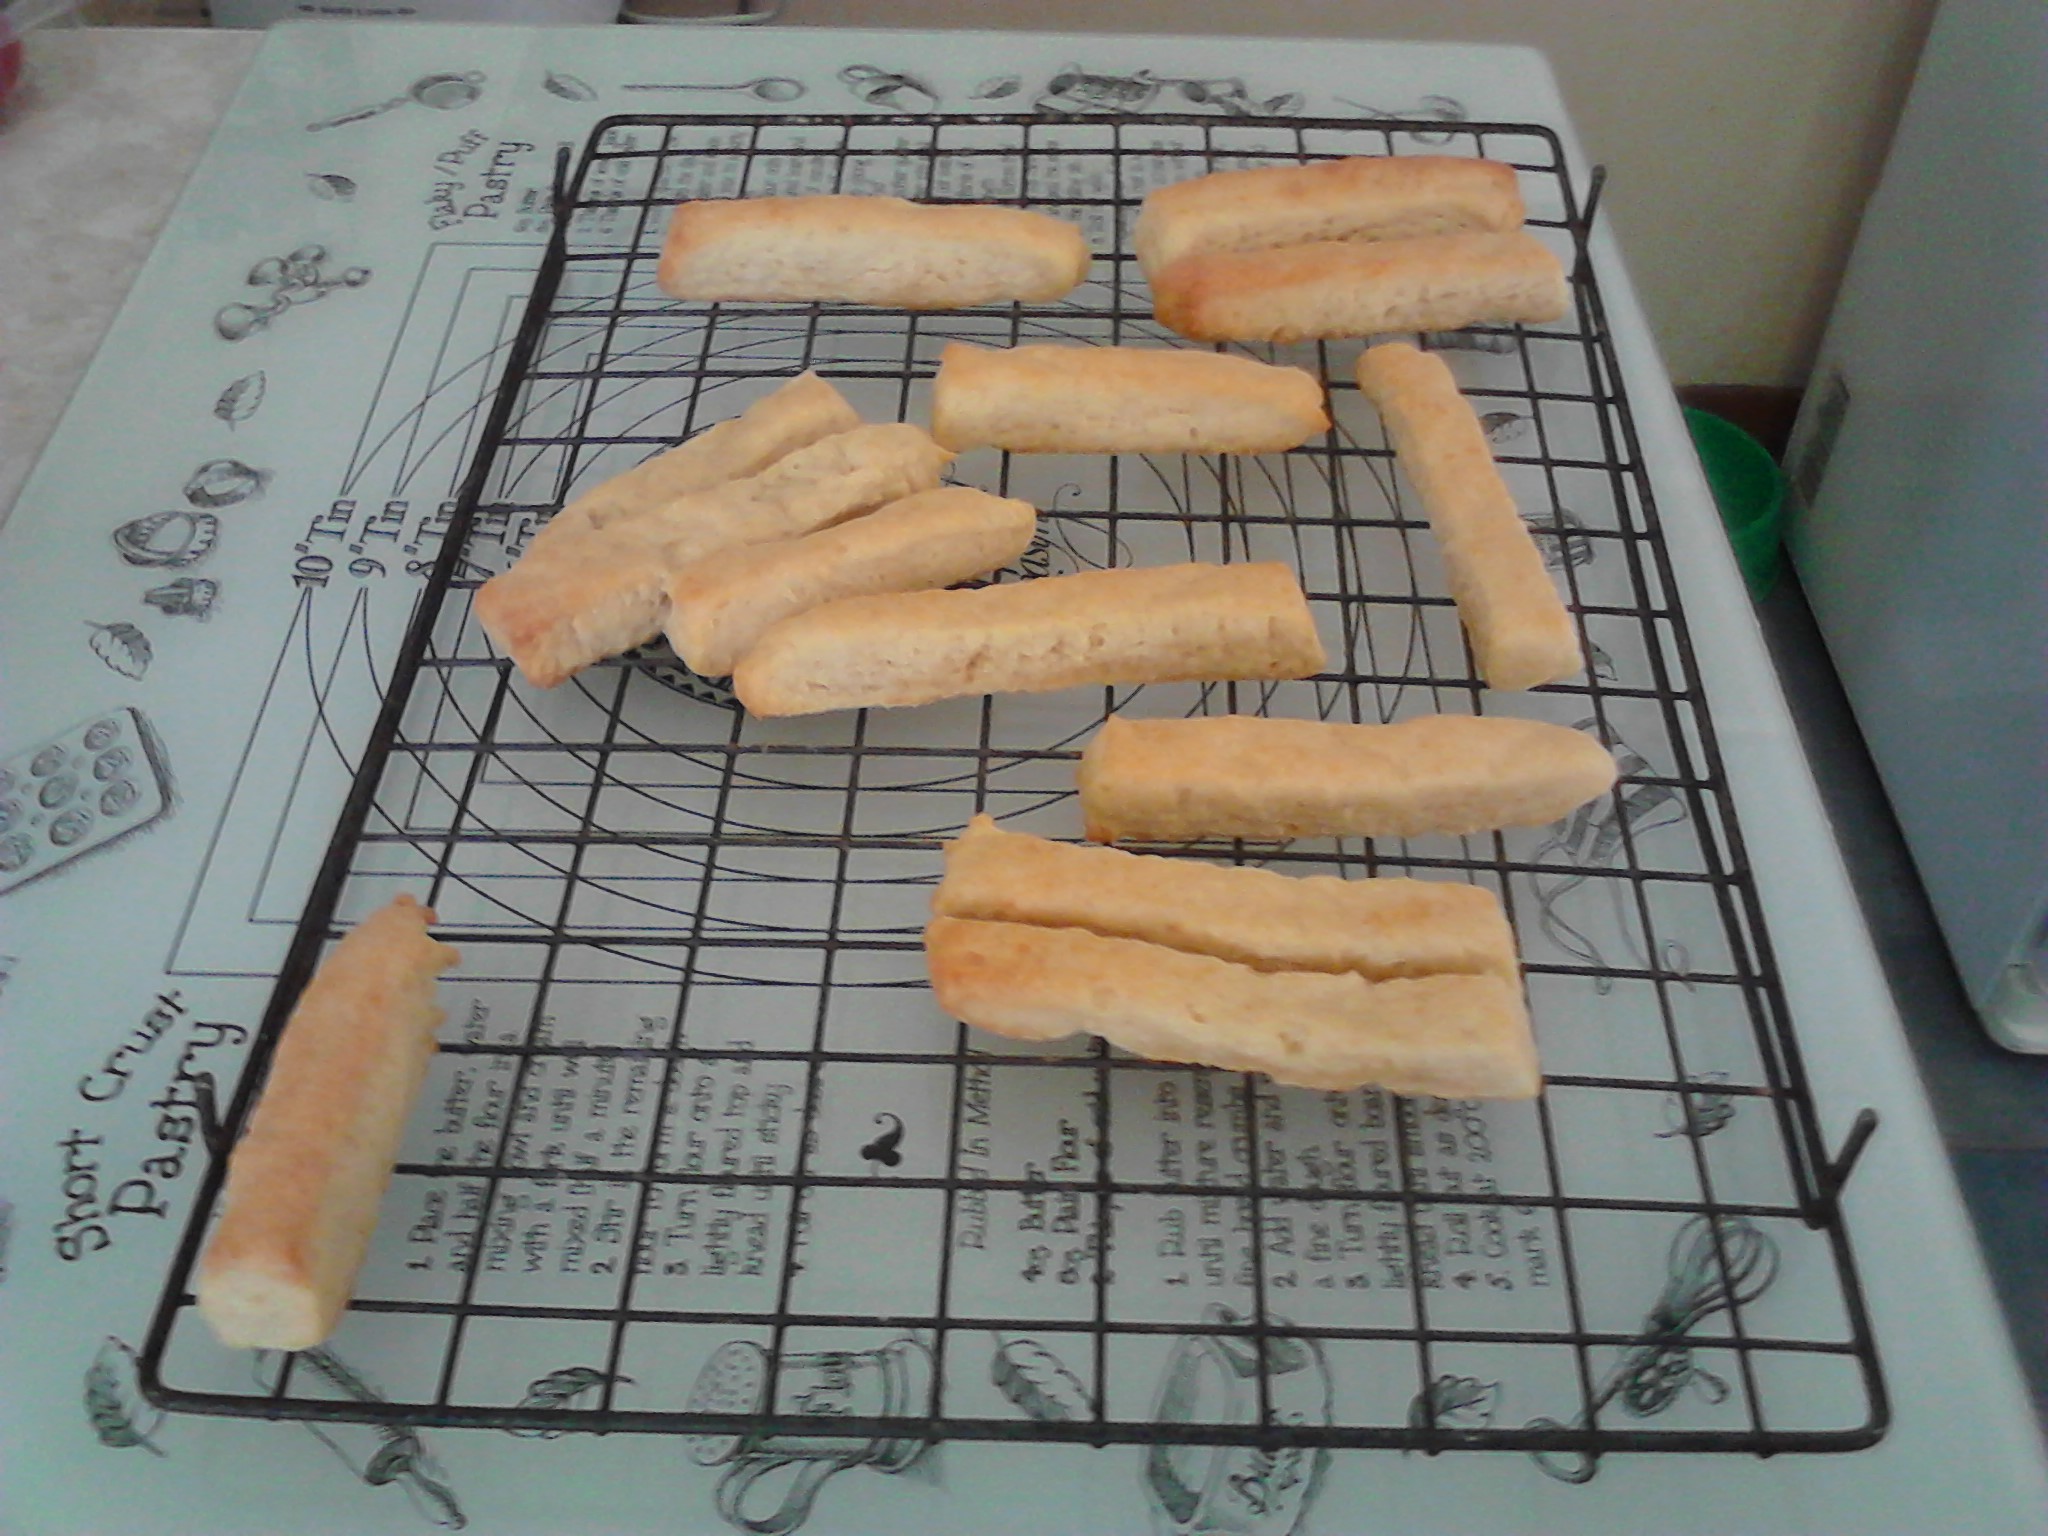
Making them was simple enough, but I misread the instructions and cooked them for only 5 minutes instead of 20 minutes! So I put them in for 5 minutes at a time until they were cooked. Actually they tasted a bit doughy so perhaps I should have cooked them longer. Here’s the finished product.
The end result. They are a little pallid as I misread the recipe!
Damper or camp bread is a quick and easy bread which does not use yeast as a raising agent. Since it does not use yeast it needs either ‘self-raising’ flour or rising agents like baking powder.
The reason I was considering it was that I found that I’d forgotten to bake any bread. I decided to make some damper from a recipe that I found on the Internet. I chose to make half-quantities and may have miscalculated somewhere as the dough was dry and flakey even after adding all the specified liquid. (The recipe referred to uses water – some recipes use milk).
I added a little more water to get a reasonable dough and cooked it as specified. It came out a bit ‘blond’ probably because I didn’t glaze it with a little milk. It was very crumbly. I’ve not made or had damper before so I’m not sure if this is usual. The taste was more like scone than bread. Anyway, here it is.